
Classic Homemade Baklava Recipe Made From Scratch
This is truly the best Baklava recipe I’ve ever tried, made from a cherished family recipe passed down through generations. Buttery layers of flaky phyllo dough are filled with finely chopped nuts and soaked in a warm vanilla–lime simple syrup. Crisp and flaky on top and perfectly sweet inside, it’s easier to make than you think and absolutely worth it. Every. Time.
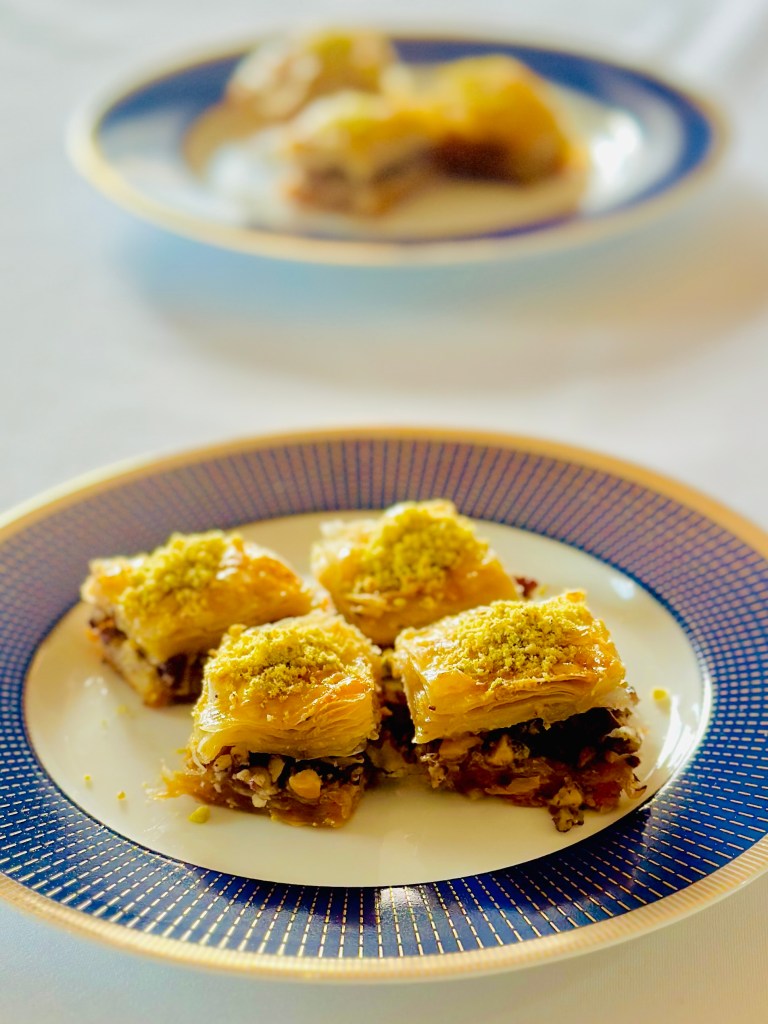
Baklava has always felt like more than just dessert in our home. It’s tradition layered between sheets of delicate phyllo. This recipe comes from Sami’s Egyptian side of the family, passed down through generations and made for holidays, family gatherings, and those long, lingering evenings where dessert is meant to be shared slowly. The first time I watched it being made, I remember how intentional every step felt: brushing the fragile phyllo sheets generously with butter, cutting the dough into diamond shapes, and gently pouring simple syrup over the deliciously puffed and golden phyllo and hearing it sizzle as the syrup spread itself all over.
Over time and after I followed this recipe a few times, I learned that baklava really isn’t as complicated to make as you might think. It simply requires patience and deliberateness with every step. And when done properly, the result is magical: crisp, golden layers on top, nutty richness in the center, and syrup that seeps perfectly into every bite. If baklava sounds intimidating to make, we break it down into easy steps for you to follow so that you too can enjoy this irresistible treat right from the comfort of home!
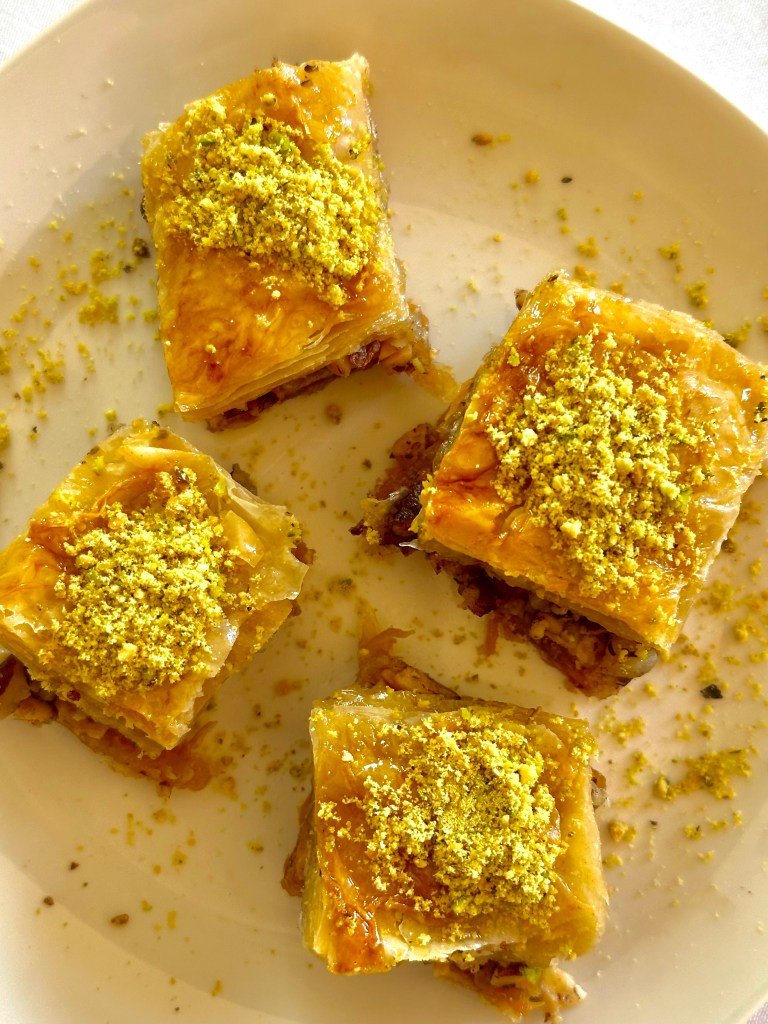
What is baklava?
Baklava is a layered pastry traditionally made with thin sheets of phyllo dough, chopped nuts, butter, and sweet syrup. It’s widely enjoyed across the Middle East, Mediterranean, and parts of Eastern Europe, with each region adding its own signature touch to it.
In Egyptian-style baklava, the nuts are typically finely ground and the baklava is sweetened with simple syrup made with aromatic citrus-based flavors (like orange blossom water). Some traditional recipes also include a filling of shredded coconut. Baklava is also known for being extremely crispy from baking the phyllo with butter. This recipe leans toward the Egyptian baklava, but with our own unique twist to it.
Traditionally, baklava is always meant to be shared and is thus served during the holy month of Ramadan, holidays like Eid, weddings, and large family gatherings.
Why you’ll love this recipe
- Family-tested and authentic – This isn’t a shortcut version to authentic baklava, but a recipe passed down from previous generations, made the traditional way.
- The perfect balance of crisp and syrupy – The simple syrup (sweetened by vanilla extract and fresh lime juice) keeps it sweet but not cloying.
- Simple ingredients with a delicious payoff – Just nuts, butter, phyllo, and syrup!
- Make-ahead friendly – Baklava tastes even better the next day after resting.
- Customizable nut filling – You can use pistachios, walnuts, hazelnuts, or a mix of all 3!
Ingredients needed

- Mixed nuts (pistachios, walnuts, or hazelnuts): The heart of the filling! Nutty, rich, and slightly textured.
- Phyllo dough: Ultra-thin pastry sheets that create those iconic flaky layers. You can buy them at most major grocery stores, usually in the frozen foods section near pie crusts and puff pastry.
- Melted unsalted butter: Brushed between layers of phyllo to create that crisp flakiness and golden color.
- Finely crushed pistachios (for topping): Adds visual appeal and a pop of color.
- Granulated sugar: Provides sweetness and structure.
- Water: Dissolves the sugar to create the simple syrup base.
- Fresh lime juice: Balances sweetness and prevents the syrup from crystallizing.
- Vanilla extract: Adds warmth and subtle depth to the syrup topping.
How to make baklava (step-by-step)
Thaw the phyllo ahead of time
Transfer the phyllo from the freezer to the refrigerator 24 hours in advance. Before assembling, let it sit at room temperature for about 1 hour. As you work, keep the sheets covered between 2 damp kitchen towels to prevent them from drying out and cracking.
Prepare the nut mixture
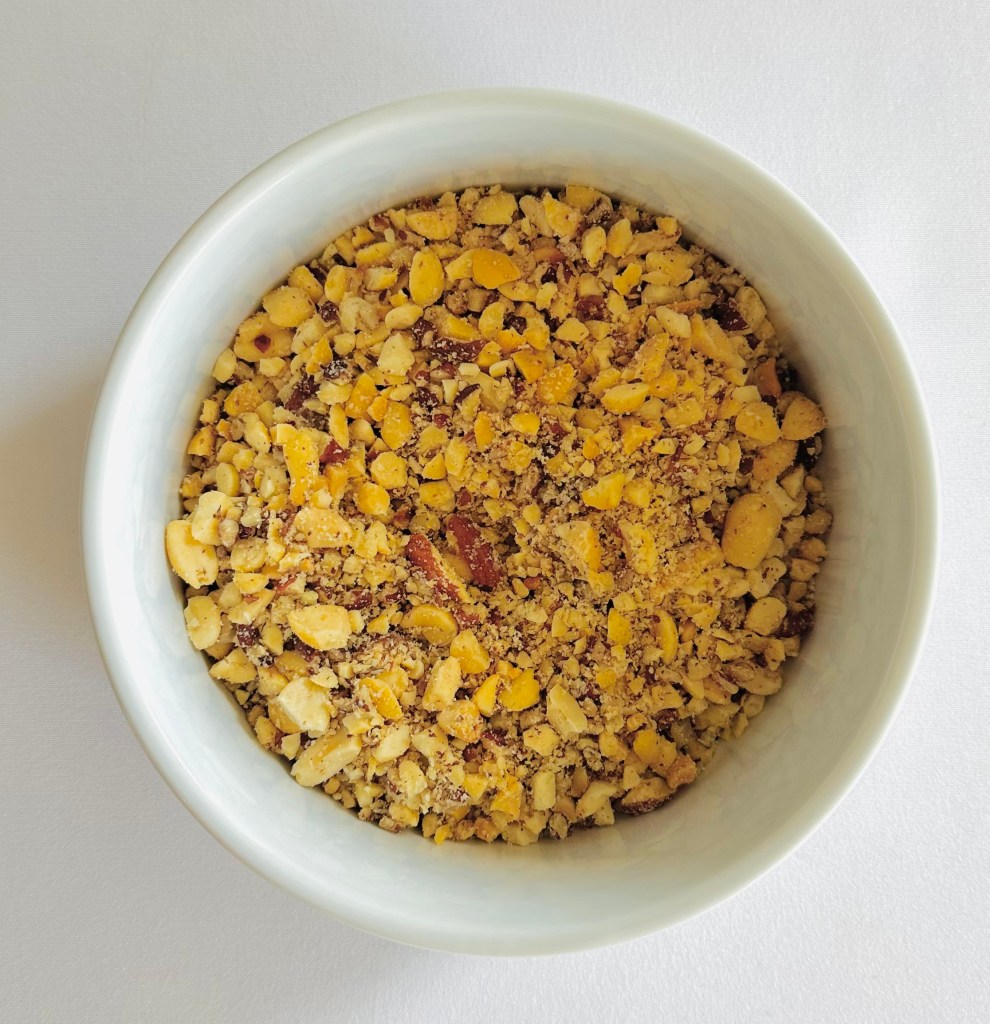
Add your mixed nuts to a food processor and pulse just until finely chopped but still slightly textured.
Start the first layer of phyllo
Generously brush the interior of a 9″ x 13″ baking dish with melted butter. Lay down half of the phyllo sheets into the pan and brush the topmost layer with more melted butter.
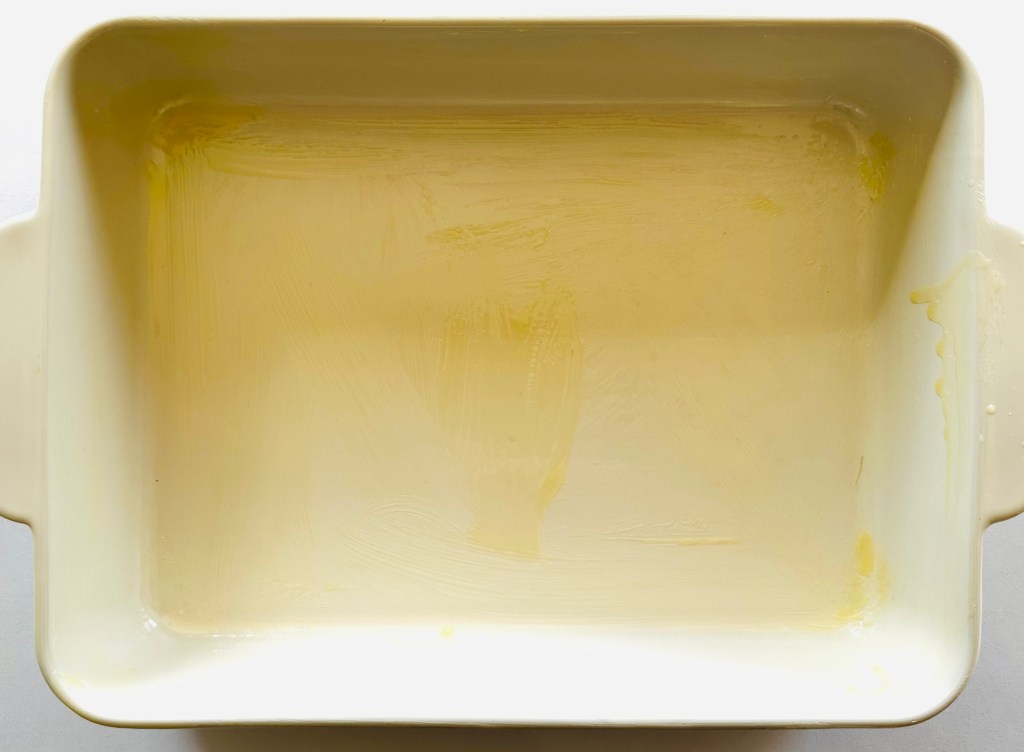

Note: Phyllo dries out quickly! As you assemble the first layer of phyllo, make sure to keep the remaining phyllo sheets covered with the damp towel until you need them.
Add the nuts
Sprinkle the ground nuts over the phyllo base, gently pressing them into an even layer so every bite has filling from edge to edge.
Top with remaining phyllo
Place the remaining sheets on top, again brushing the topmost layer generously with butter. Don’t skip buttering the final top sheet, as it’s what gives the baklava its deep golden color.

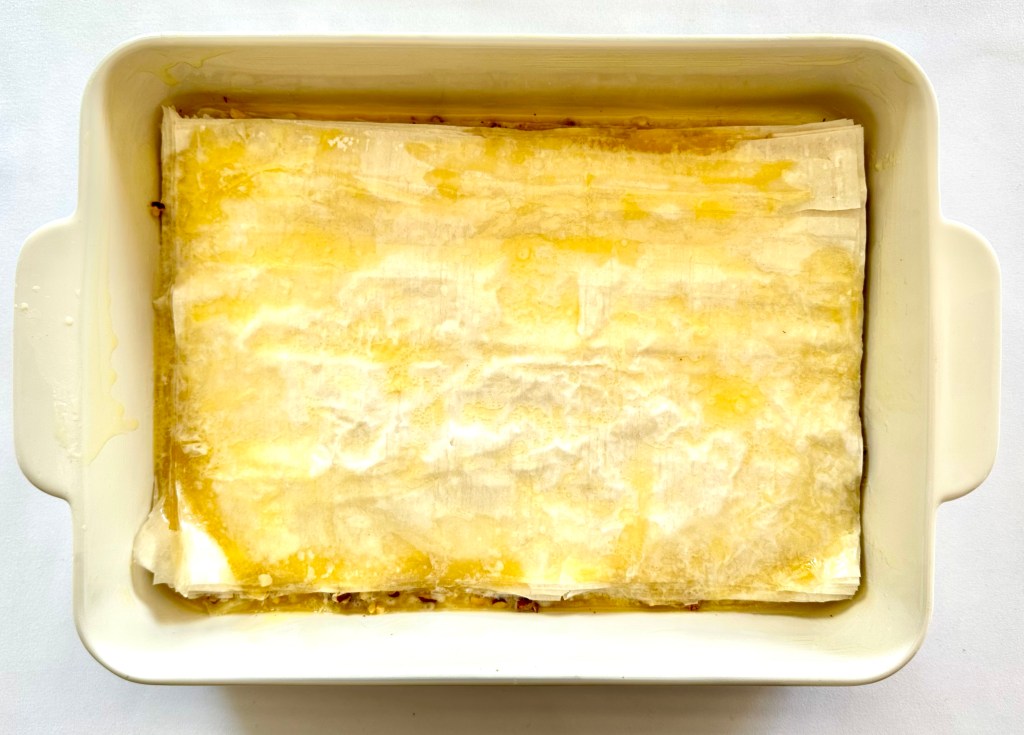
Cut before baking
Using a sharp knife, cut diagonally across the pan, then in the opposite diagonal direction to form diamond shapes. Make sure to cut all the way through to the bottom to ensure clean slices after baking.
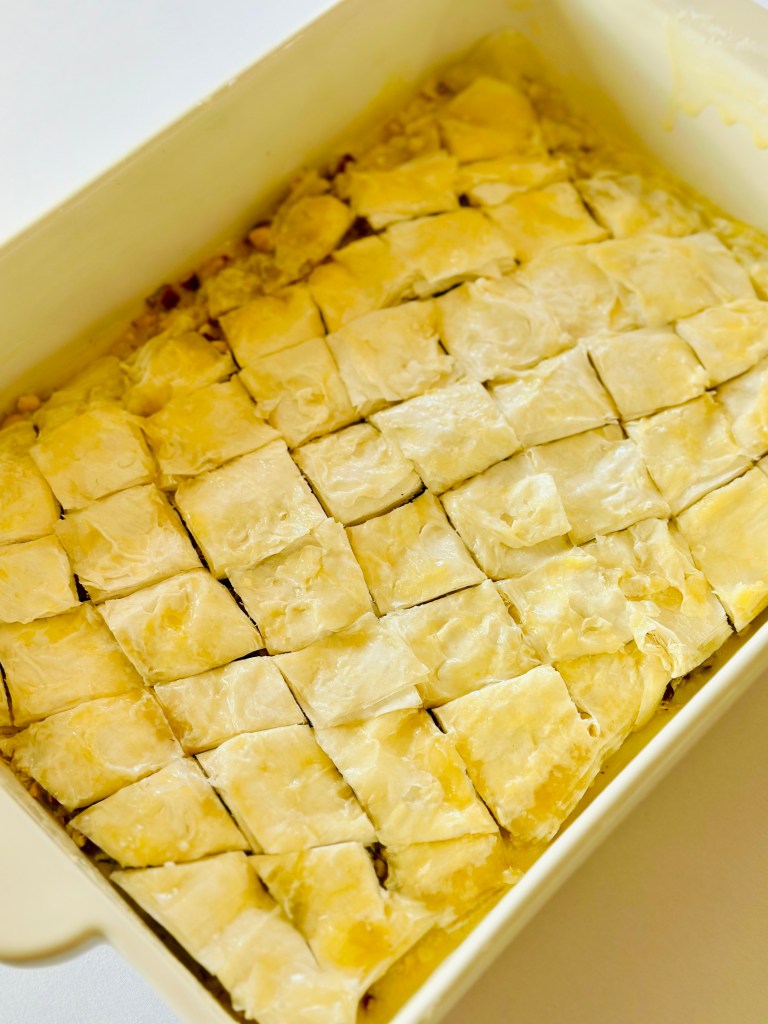
Bake in the oven
Bake at 350°F for 45 minutes to 1 hour, checking halfway through. The top should be richly golden brown, not pale. Proper browning is key to preventing soggy layers later.
Prepare the syrup
As the baklava bakes, add sugar, water, lime juice, and vanilla to a saucepan. Bring to a gentle boil, then reduce to low and simmer briefly until slightly thickened. Keep warm until ready to use.

Pour syrup over baklava
Take the baklava out of the oven and carefully drizzle half of the simple syrup evenly over the top. You should hear a gentle sizzle while doing this, meaning the syrup is being absorbed into the crisp layers. Let it sit and absorb into the baklava for a minute, then drizzle on a little more until the baklava appears thoroughly moistened.
Rest before serving
Allow the baklava to cool completely, uncovered, for at least 4 to 6 hours (or overnight). This resting time allows the syrup to fully penetrate the layers while keeping the top crisp. When you’re ready to serve, just cut along the pre-sliced lines, sprinkle with some crushed pistachios, and enjoy with coffee!

FAQs for baklava
Should the syrup be hot or cold?
One should be warm and the other hot, but not the same temperature. In this recipe, warm syrup is poured over freshly baked hot baklava. The slight temperature difference helps the syrup absorb properly into the layers without making the pastry soggy.
Why do I cut the baklava before baking?
Cutting beforehand ensures clean slices without crushing the delicate layers. It also allows the butter and syrup to seep down evenly between the cuts, flavoring each piece all the way to the bottom.
Why does my baklava turn soggy?
Usually from underbaking or using too much syrup. The top should be deeply golden before adding syrup. If the pastry isn’t fully crisp before the syrup goes on, the layers won’t hold their structure, so make sure that it’s fully baked beforehand.
Can I make baklava ahead of time?
Absolutely, and it’s recommended actually! Baklava is best after resting several hours, as the resting time allows the syrup to fully penetrate the layers and the flavors to deepen.
Can I freeze baklava?
Yes! Baklava keeps well in the freezer for up to 4 months. We recommend freezing it after baking (without the syrup), as it preserves the texture best. Let the baklava cool completely, then store in freezer-safe containers or wrap tightly to prevent freezer burn.
When you’re ready to serve, thaw in the fridge overnight or at room temperature for a few hours before warming slightly in the oven to revive the crispy texture. Prepare the simple syrup while it reheats and pour over while the baklava is still warm.

Tips for the best baklava
- Keep phyllo covered at all times. Phyllo dough is extremely delicate and can become brittle within minutes if exposed to air too long. Keep unused sheets covered between two lightly damp kitchen towels while assembling to prevent cracking and tearing.
- Don’t skimp on the butter! Brushing the phyllo layers generously with melted butter is what creates those flaky, separated sheets once baked. Too little butter can cause the layers to stick together and bake up dense instead of crisp.
- Bake until deeply golden, not just lightly browned. Proper color equals proper texture. The top should be richly golden and crisp all the way through before adding syrup. Underbaking is one of the main causes of soggy baklava, so you want to avoid that at all costs! Bake within 45 minutes to an hour, depending on your oven.
- Pour the syrup slowly and evenly over the baklava. Drizzle the syrup gradually across the entire surface rather than dumping it in one spot. This ensures even absorption and prevents certain sections from becoming oversaturated.
- Let it rest uncovered so the top stays crisp. Allow the baklava to cool completely at room temperature without covering it. Covering while warm can trap steam and soften the top layers you worked so hard to crisp.
- Make your baklava a day in advance! Baklava is even better the next day when the pastry has had ample time to fully absorb the simple syrup. You can store it covered at room temperature overnight, but make sure it’s completely cooled before covering it.

How long does baklava last?
Baklava lasts up to 5 days at room temperature when stored in an airtight container. For best texture, keep it loosely covered and allow enough air to circulate so the top layers remain crisp.
If refrigerated, baklava will keep for about 1 week, though the texture may soften slightly. Let it sit at room temperature before serving to restore its flavor and consistency.
When frozen (without syrup for best results), baklava can last up to 2 to 3 months. Thaw at room temperature before serving with fresh syrup poured on top.

Classic Homemade Baklava Recipe Made From Scratch
- Total Time: 1 hour 30 minutes
- Yield: 24 pieces 1x
Description
This is truly the best Baklava recipe I’ve ever tried, made from a cherished family recipe passed down through generations. Buttery layers of flaky phyllo dough are filled with finely chopped nuts and soaked in a warm vanilla–lime simple syrup. Crisp and flaky on top and perfectly sweet inside, it’s easier to make than you think and absolutely worth it.
Ingredients
For the baklava and nut filling:
- 1 1/2 cups choice of mixed nuts (pistachios, walnuts, or hazelnuts)
- 16-oz package phyllo dough, thawed
- 1 1/2 sticks of unsalted butter, melted
- Finely crushed pistachios for topping
For the simple syrup:
- 1 cup granulated sugar
- 1 cup water
- 1–2 tablespoons fresh lime juice
- 1 teaspoon vanilla extract
Instructions
- Prepare the phyllo pastry: Remove phyllo dough package from freezer and place in the fridge for 24 hours to thaw. Remove from the fridge 1 hour before using.
- Preheat the oven to 350°F. Unroll the thawed phyllo pastry and place the sheets in between two clean, damp kitchen towels. This will help keep the phyllo from drying out and breaking while you work.
- Make the nut mixture: In the bowl of a food processor fitted with the blade attachment, add the nuts and pulse until coarsely ground. Transfer to a large bowl and set aside.
- Assemble the baklava: Brush the interior of a 9” x 13” baking pan generously with the melted butter, making sure to brush the sides as well. To assemble, carefully remove half the amount of phyllo sheets and place carefully into the pan to form the base layer. Keep the remaining phyllo covered with the damp towel. (Check first to make sure that the sheets of phyllo will fit the pan and trim using a pair of kitchen shears if needed.) Brush the topmost sheet with the melted butter generously.
- Spread the nut mixture in an even layer on top, making sure that it covers the entire width of the phyllo sheets. Then add the remaining phyllo sheets on top and generously brush the topmost sheet with the remaining melted butter. Using a sharp knife, carefully cut the pastry in a diagonal direction to create diamond-shaped pieces, cutting all the way through all the layers to the bottom of the pan.
- Transfer to the oven and bake anywhere from 45 minutes to 1 hour, until the top is golden brown and crisp, and a toothpick inserted in the center comes out clean. (Because ovens vary, make sure to check on the baklava halfway through baking.)
- Prepare the simple syrup: While the baklava bakes, combine sugar, water, vanilla extract, and lime juice in a small saucepan over medium heat. Bring to a gentle boil, then reduce the heat to low.
- Remove the baklava from the oven and carefully drizzle half of the simple syrup evenly over the top. Allow it to sit and absorb for a minute, then drizzle on a little more until the baklava appears thoroughly moistened.
- Allow the baklava to cool, uncovered, at room temperature for at least 4 to 6 hours (or overnight) to allow the syrup to fully penetrate the layers. When ready to serve, slice all the way through the pre-cut lines and garnish with crushed pistachios if desired.
- Prep Time: 30
- Cook Time: 60
- Category: Dessert
- Cuisine: Mediterranean



I tried this recipe it was amazing. Everybody loved. Can’t wait to make it again.
Thank you for visiting. Glad you liked it
Great for Ramadan
Thank you for visiting
Best baklava ever, very delicious thank you for sharing
Thank you
This post makes baklava feel so warm and inviting, it’s wonderful how you capture not just the recipe, but the family traditions and memories behind it. I love the way you describe each step, from brushing the phyllo to hearing the syrup sizzle; it really makes me want to try making it myself. Thank you for sharing such a beautiful, approachable take on a dessert that’s clearly so special in your home!
Thank you so much for your kind words! We’re so happy you enjoyed reading our post and hope that you get to try more of our recipes 🙂