How to Make the Perfect Classic Pumpkin Pie for Thanksgiving (Silky & Creamy)
This Classic Pumpkin Pie is everything a Thanksgiving dessert should be: a silky, perfectly spiced custard filling baked in a flaky, golden crust. Simple pantry staples and a touch of molasses give it a deep, caramel-like richness, while a two-temperature bake keeps the filling smooth and creamy from edge to center. It’s easy enough for first-time bakers, make-ahead friendly, and truly the best pumpkin pie we’ve ever made!
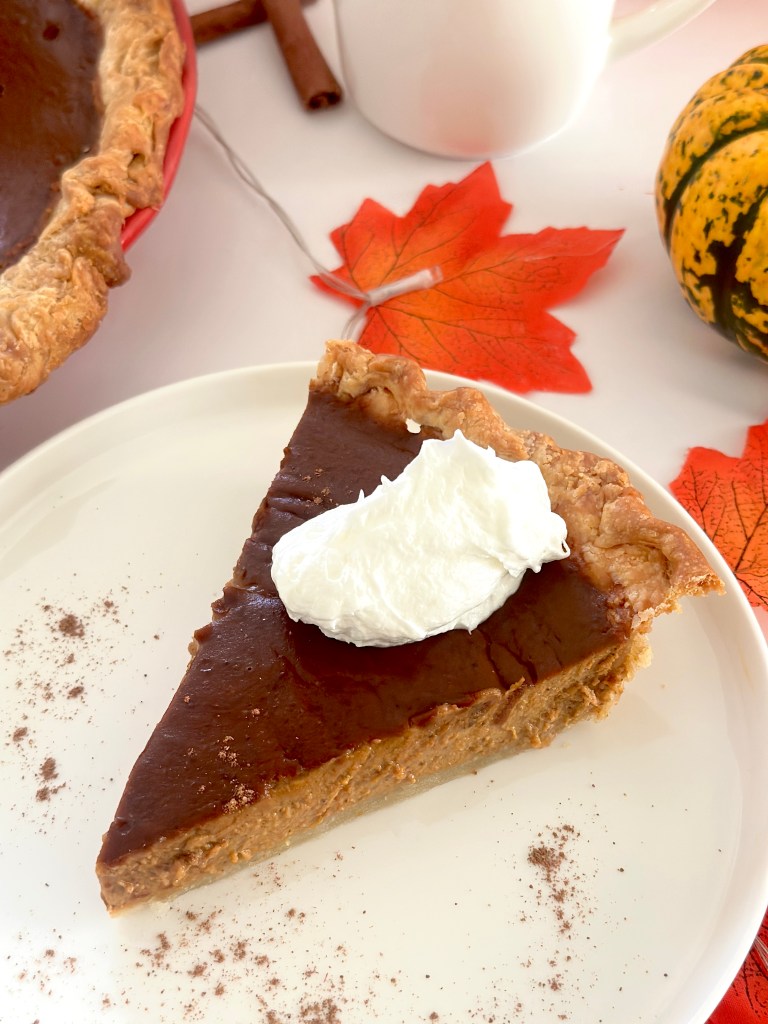
Pumpkin pie is honestly the real reason we look forward to Thanksgiving all year. The turkey and stuffing are great, but nothing beats that first forkful of cool, creamy, cinnamon-spiced custard on a flaky crust with a big swirl of whipped cream on top. It’s the most iconic Thanksgiving dessert for a reason, and in our house the holiday doesn’t officially start until there’s a pumpkin pie cooling on the counter. We’ve baked more versions than we can count over the years, always chasing the one that tasted the way pumpkin pie is supposed to taste.
After plenty of testing in our tiny kitchen, this is that recipe. It’s hands down the best pumpkin pie recipe we’ve ever tried. A little molasses gives the filling a deep, almost gingerbread-like warmth, and a two-temperature bake sets the crust quickly while keeping the center smooth and silky. It uses simple ingredients you can grab at any grocery store, comes together with one bowl and a whisk, and can be made a day or two ahead, which is a lifesaver when the oven is in high demand on Thanksgiving. Once you make it, we have a feeling it’ll become your family’s go-to during the holiday season.
Why we love this pumpkin pie
- Ready in under an hour — Just 15 minutes of hands-on prep and about 40 minutes in the oven (plus cooling time), with most of that time completely hands-off so you can focus on knocking out the rest of your Thanksgiving menu.
- The perfect texture — Baking it hot at 425°F first and finishing at 350°F gives you a crisp, golden crust and a silky, custardy filling that slices cleanly every time.
- Deep, cozy flavor — Molasses, brown sugar, cinnamon, ginger, and cloves work together to create that rich, warmly spiced taste everyone expects from a classic pumpkin pie, only better.
- Super make-ahead friendly — This pie actually tastes better after a night in the fridge, so you can bake it a day or two early and free up your oven for the main event.
- Easy enough for beginners — One bowl, one whisk, and clear step-by-step instructions from us mean even first-time bakers can pull off a perfect holiday pie.
Ingredients needed
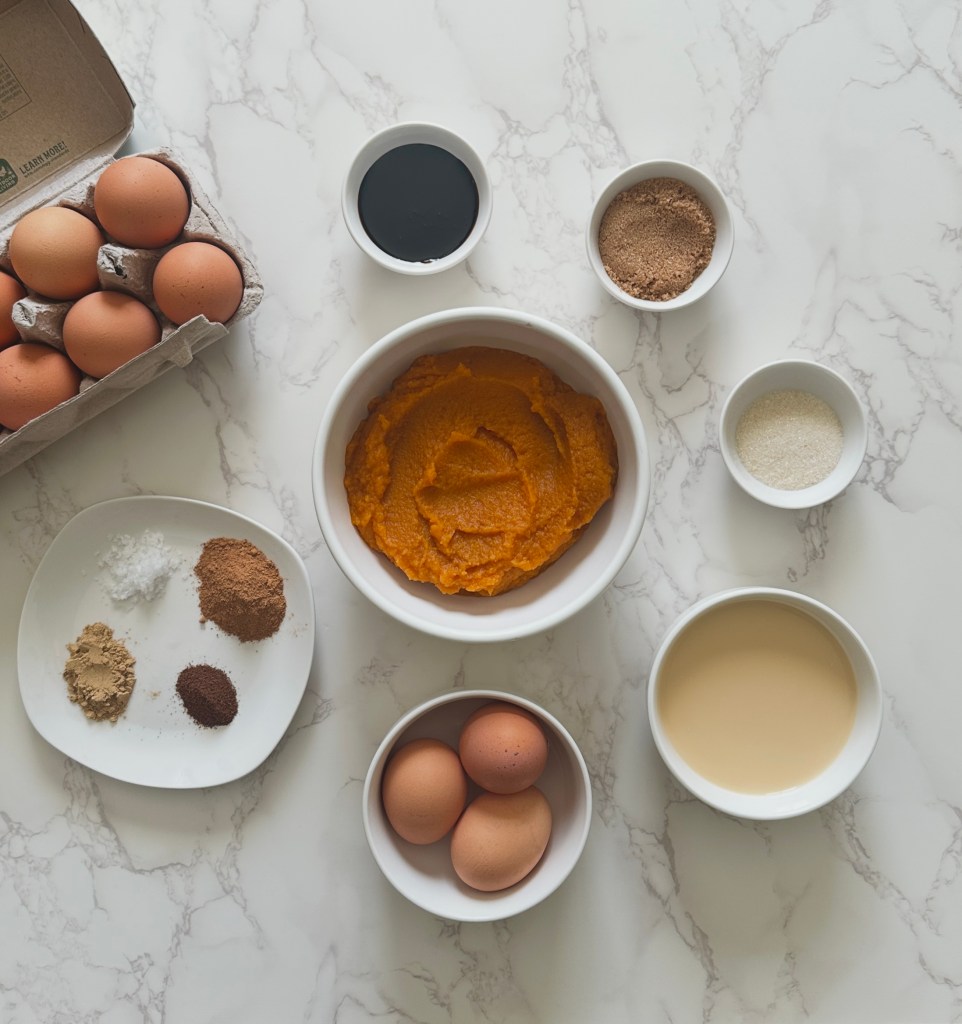
- Pie crust (store-bought or homemade): We use our homemade pie crust and blind bake it first so the bottom stays crisp instead of soggy under the wet filling. A store-bought crust works great too when time is short; just blind bake it the same way.
- Canned pumpkin purée: The beating heart of the pie. Look for 100% pure pumpkin purée instead of pumpkin pie filling, because it gives you more control over the sugar and spices.
- 3 eggs: The eggs are what turn the filling into a custard that sets up firm enough to slice.
- Granulated sugar: A clean, straightforward sweetness that lets the pumpkin flavor shine through.
- Light or dark brown sugar: Brown sugar adds a soft caramel note that makes the filling taste richer.
- Molasses: Our secret ingredient. It gives the pie a deep, almost gingerbread-like warmth and a gorgeous darker color that sets this recipe apart from others.
- Evaporated milk or heavy cream: Use evaporated milk for that classic, slightly firmer old-fashioned texture, or heavy cream if you prefer a richer and silkier filling. Either one gives you a creamy custard.
- Ground cloves: A little goes a long way here! Cloves add that unmistakable warm, slightly peppery holiday aroma.
- Cinnamon: The backbone of the spice blend. This recipe uses a generous amount so every bite tastes like Thanksgiving.
- Ground ginger or fresh grated ginger: Ginger brings a gentle zing that keeps the pie from tasting flat. We love using fresh grated ginger when we have it on hand for a brighter, livelier kick.
- Salt: Don’t skip it! Salt balances the sweetness and makes the pumpkin and spices taste more like themselves.
How to make pumpkin pie
1. Blind bake the crust
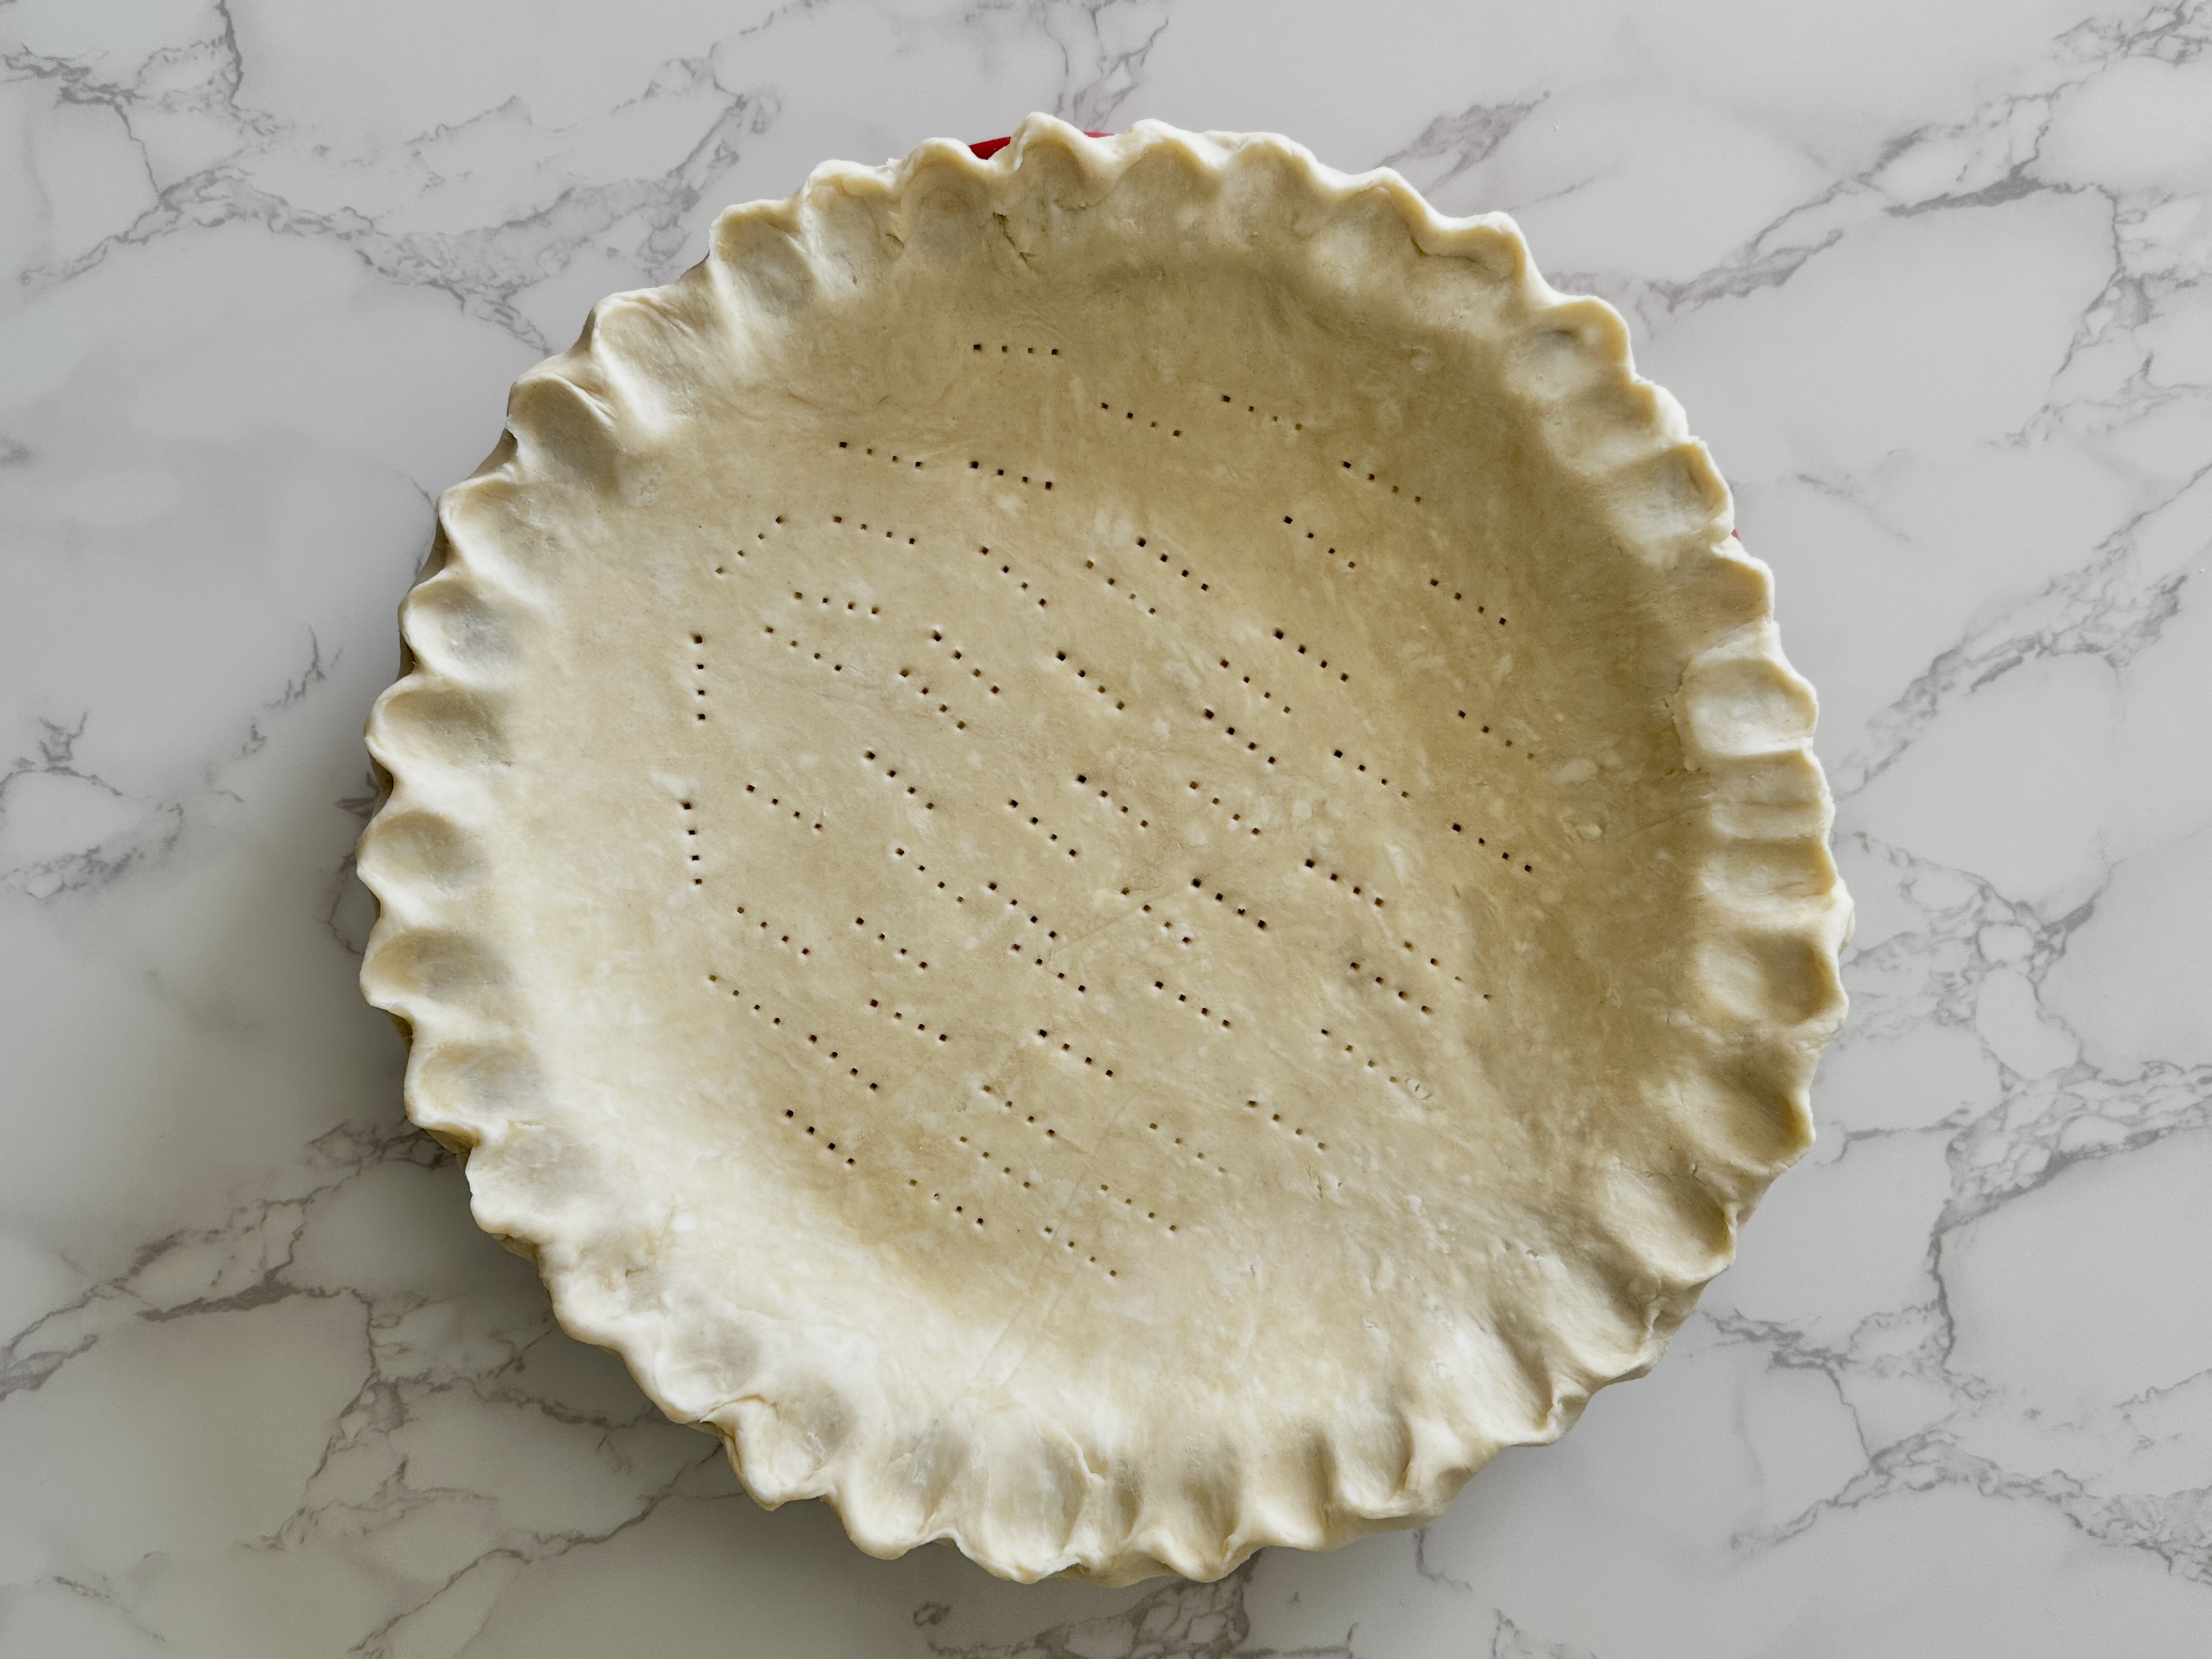
Prepare and blind bake your store-bought or homemade pie crust according to the instructions, then let it cool completely. A fully cooled crust keeps the bottom crisp once the filling goes in.

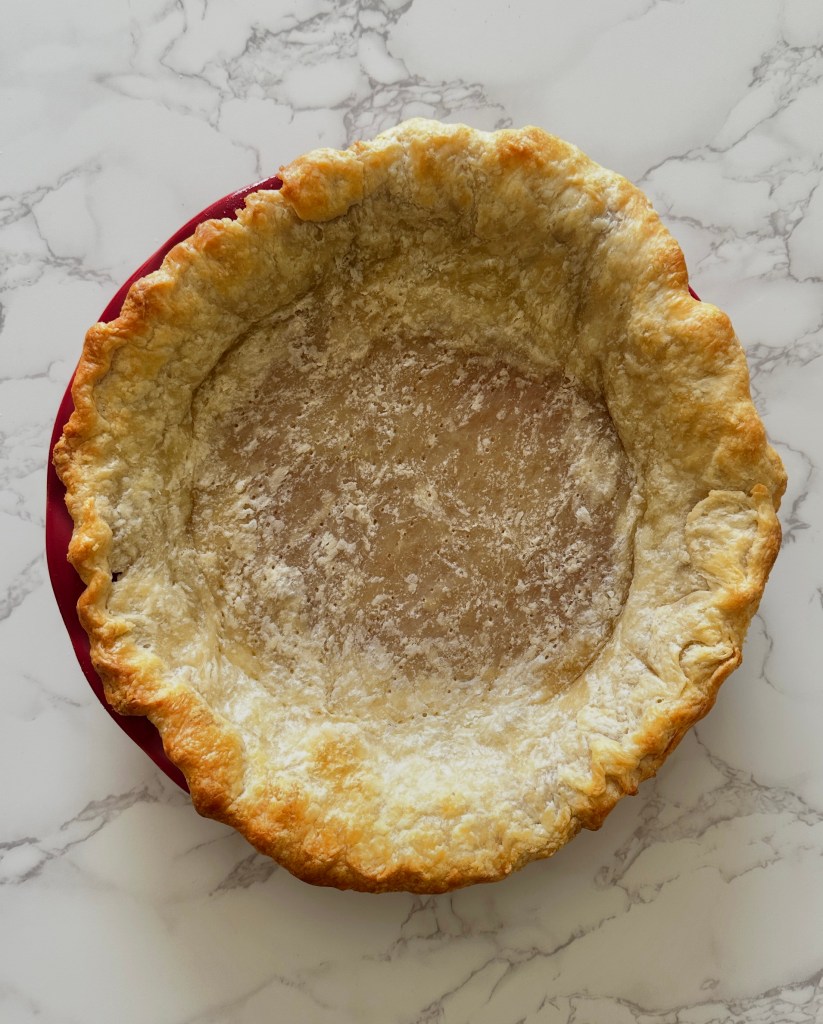
2. Prepare the pie filling
In a large bowl, whisk together the pumpkin purée, eggs, granulated sugar, brown sugar, and molasses until smooth. Add the evaporated milk (or heavy cream), cloves, cinnamon, ginger, and salt, and whisk until everything is fully combined and silky.

3. Fill the crust
Set the cooled crust on a rimmed baking sheet to catch any drips and make it easier to move. Pour the filling into the crust and gently tap the pan on the counter to release any air bubbles.
4. Bake in the oven
Bake at 425°F for 10 minutes, then lower the temperature to 350°F and continue baking for 35 to 40 minutes.
5. Check for doneness
Since every oven bakes differently, start checking the pie at the 25-minute mark after lowering the temperature, then every 5 minutes after that. The pie is ready when the edges are set and the center still jiggles slightly when you nudge the pan. If the crust edges brown too quickly, you can cover them with a pie shield or strips of foil.
5. Cool completely
Let the pie cool on a wire rack for at least 2 hours so the filling can finish setting. Slice, top with whipped cream, and enjoy!
Why bake pumpkin pie at two temperatures?
Starting at 425°F for the first 10 minutes sets the crust quickly so it stays crisp under the wet filling. Lowering the oven to 350°F then lets the filling cook gently, so the eggs don’t overcook and the center stays silky instead of puffy or cracked.

FAQs for pumpkin pie
Can I use fresh pumpkin instead of canned?
You can, but fresh pumpkin tends to hold more water. Strain it through cheesecloth first or simmer it down until thick so the filling sets properly.
Why did my pumpkin pie crack?
Cracks usually mean the pie was overbaked or cooled too fast. Pull the pie out of the oven while the center still jiggles slightly and let it cool at room temperature.
Can I use pumpkin pie spice instead of the individual spices?
You absolutely can! Swap the cinnamon, ginger, and cloves for about 3 ½ teaspoons of pumpkin pie spice. Just know the flavor may be a little less bold than the original blend.
Why do I need to blind bake the crust?
Pumpkin filling is very wet and custardy, so pre-baking the crust keeps it crisp and flaky instead of soggy on the bottom.
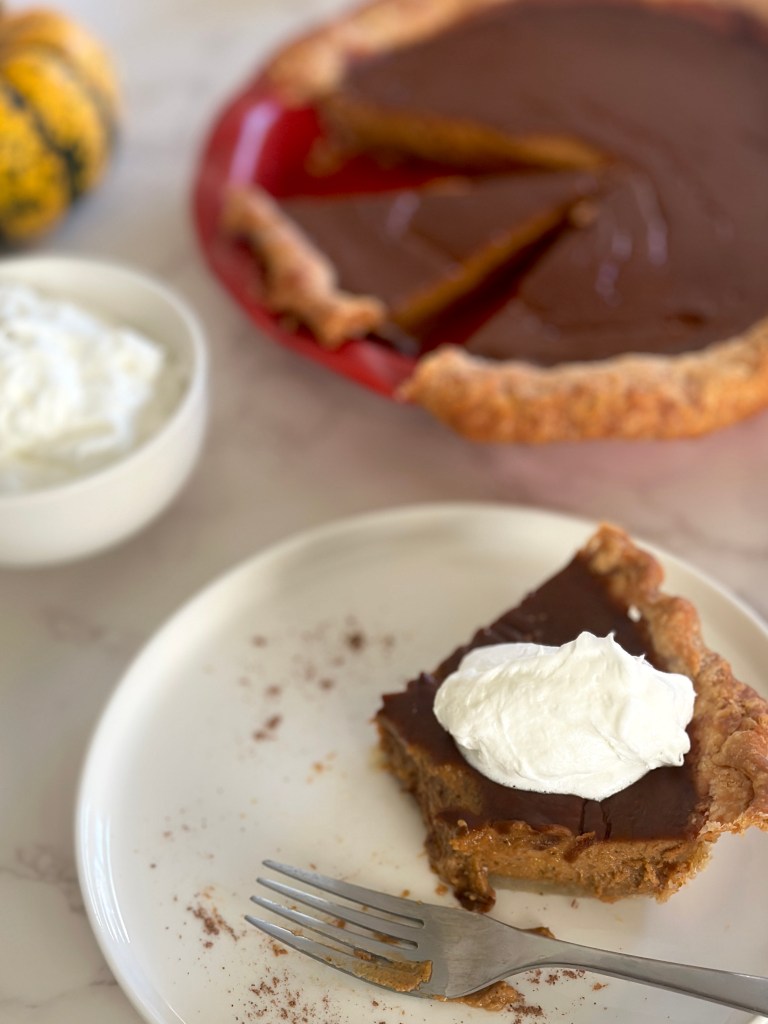
Tips for the best pumpkin pie
- Don’t skip the blind bake — It’s the single best way to avoid a soggy bottom crust. Pumpkin filling is very wet, so giving the crust a head start in the oven (and letting it cool completely) keeps it crisp and flaky under the custard.
- Use pumpkin purée, not pie filling — Pie filling is already sweetened and spiced, so it will throw off the balance of this recipe. Look for cans labeled 100% pure pumpkin, and note that a standard 15-ounce can holds about 1 ¾ cups, so you’ll need a little more from a second can to get the full 2 cups.
- Trust the jiggle — The center of the pie should still wobble slightly, like set gelatin, when you pull the pie from the oven. It’ll finish setting as it cools, and pulling it at this point is the best way to avoid over-baking, which is the number-one cause of cracks.
- Cool it slowly — Let the pie cool on a wire rack at room temperature for at least 2 hours before it goes in the fridge. Sudden temperature changes can make the filling crack, and covering a warm pie traps steam that turns into condensation on the surface.
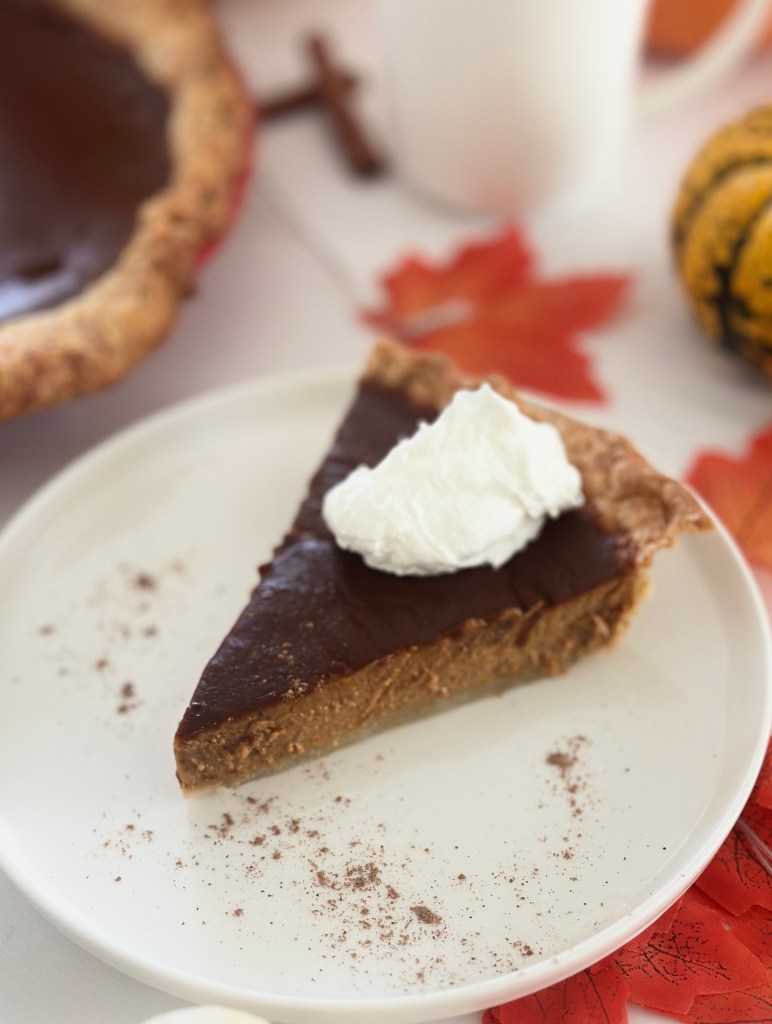
Pumpkin pie storage tips
- To make ahead: We highly recommend this not only to save you time on Thanksgiving, but because the flavors actually deepen overnight! Bake the pie 1 to 2 days before, cool completely, and store covered in the fridge. You can also make and blind bake the crust up to 2 days ahead and store it covered at room temperature.
- Storage: Cover chilled pie loosely with plastic wrap or foil and refrigerate for up to 4 days. Serve chilled or let slices sit out for 20 minutes to take the chill off.
- Freezer: Pumpkin pie freezes surprisingly well! Wrap the chilled whole pie tightly in plastic wrap and then foil, and freeze for up to 1 month. Thaw overnight in the refrigerator before serving. The crust may soften slightly after freezing.
More dessert recipes
If you loved learning how to make this pumpkin pie, try one of our other favorite dessert recipes that would be just as perfect at the holiday table:
Print
Classic Pumpkin Pie
- Total Time: 55 minutes
- Yield: 1 9-inch pie (8 servings) 1x
Description
This Classic Pumpkin Pie is everything a Thanksgiving dessert should be: a silky, perfectly spiced custard filling baked in a flaky, golden crust. Simple pantry staples and a touch of molasses give it a deep, caramel-like richness, while a two-temperature bake keeps the filling smooth and creamy from edge to center. It’s easy enough for first-time bakers, make-ahead friendly, and truly the best pumpkin pie we’ve ever made!
Ingredients
For the pie crust:
- 1 store-bought or homemade pie crust
For the pie filling:
- 2 cups canned pumpkin purée
- 3 eggs
- 2 tablespoons granulated sugar
- 2 tablespoons light or dark brown sugar
- 2 tablespoons molasses
- 1 ½ cups evaporated milk or heavy cream
- ½ teaspoon ground cloves
- 2 teaspoons cinnamon
- 1 teaspoon ground ginger (or 2 tablespoons fresh ginger, grated)
- ½ teaspoon salt
Instructions
- To prepare the pie crust: Preheat the oven to 425°F. Roll the pie dough out to 12 inches in diameter, transfer to a 9-inch pie plate, trim any excess dough, and crimp the edges. Prick the bottom of the pie crust all over with a fork and transfer to the refrigerator to chill for at least 30 minutes while oven preheats.
- Line the pie dough with parchment paper or foil and fill with pie weights, rice, or dried beans. Bake for 15 minutes, then remove from the oven and remove the parchment paper or foil with the pie weights. Return to the oven to bake for another 5 to 7 minutes until the bottom of the crust begins to lightly brown. Remove from the oven and set aside to cool completely before adding the filling.
- To prepare the filling: Whisk all ingredients together in a bowl until it forms a smooth mixture, then pour into the cooled crust. Return the pie to the oven and bake for 10 minutes at 425°F, then immediately lower the oven temperature to 350°F and bake for 35 to 40 minutes until the pie looks puffed and mostly set, and the center jiggles ever so slightly. (Since all ovens bake differently, check for doneness at the 25-, 30-, and 35-minute mark. See note below.)
- Remove from the oven and transfer to a wire rack for 2 hours to cool completely and for the center of the pie to set. Cover tightly and refrigerate for at least 2 hours before serving with whipped cream and a light dusting of cinnamon.
Notes
If the filling isn’t set yet but the crust edges brown too quickly, you can cover them with a pie shield or strips of foil.
- Prep Time: 15
- Cook Time: 40
- Category: Dessert