
Quick No-Bake Raspberry Cheesecake Cups — Ready in 20 Minutes with Simple Ingredients
These No-Bake Raspberry Cheesecake Cups are the kind of dessert that looks like you spent hours in the kitchen, but takes less than 20 minutes of hands-on prep. Built in individual cups with a buttery graham cracker crust on the bottom, a gorgeous raspberry ribbon swirled up the sides, and an ultra-creamy lemon cheesecake filling on top, they’re as beautiful as they are easy. Perfect for summer parties, Valentine’s Day, or any night you want a stunning dessert without turning on the oven.
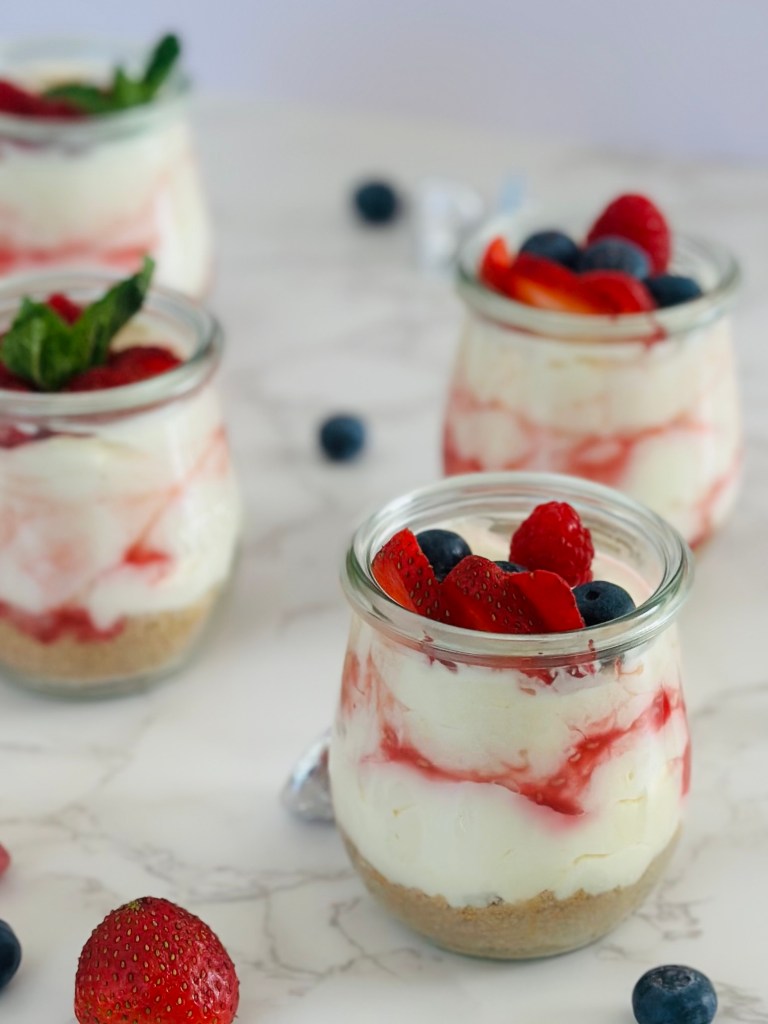
Some recipes come into your life at exactly the right moment. We first made these no-bake raspberry cheesecake cups on a sweltering July afternoon when we were craving something indulgent but the last thing we wanted to do was turn on the oven. What we ended up with was this: individual cheesecake cups with a buttery graham cracker base, a ribbon of bright, jammy raspberry sauce hugging the inside of the glass, and the creamiest lemon-kissed cheesecake filling piled on top. They were gone before they even had a chance to fully chill. That’s the kind of recipe we love coming back to every time.
What we love most about these cups — and why we keep making them on repeat — is how effortlessly they shift to fit any occasion. In the summer, they’re a no-sweat crowd-pleaser at backyard gatherings. Come February, dress them up with extra berries and a dollop of whipped cream and they’re a Valentine’s Day dessert that genuinely impresses. Hosting a dinner party and want something you can prep the day before? These are it. They’re endlessly versatile, totally budget-friendly, and the kind of recipe that makes people think you tried a lot harder than you did.
Why we love these no-bake cheesecake cups
- Ready in 20 minutes — 20 minutes of prep is all it takes before these go into the fridge to chill. There’s no baking, no water bath, no complicated steps here. Just mix, layer, and let the fridge do the rest!
- No oven required — Whether it’s the middle of summer or you just don’t feel like heating up the kitchen, this recipe keeps things completely no-bake from start to finish.
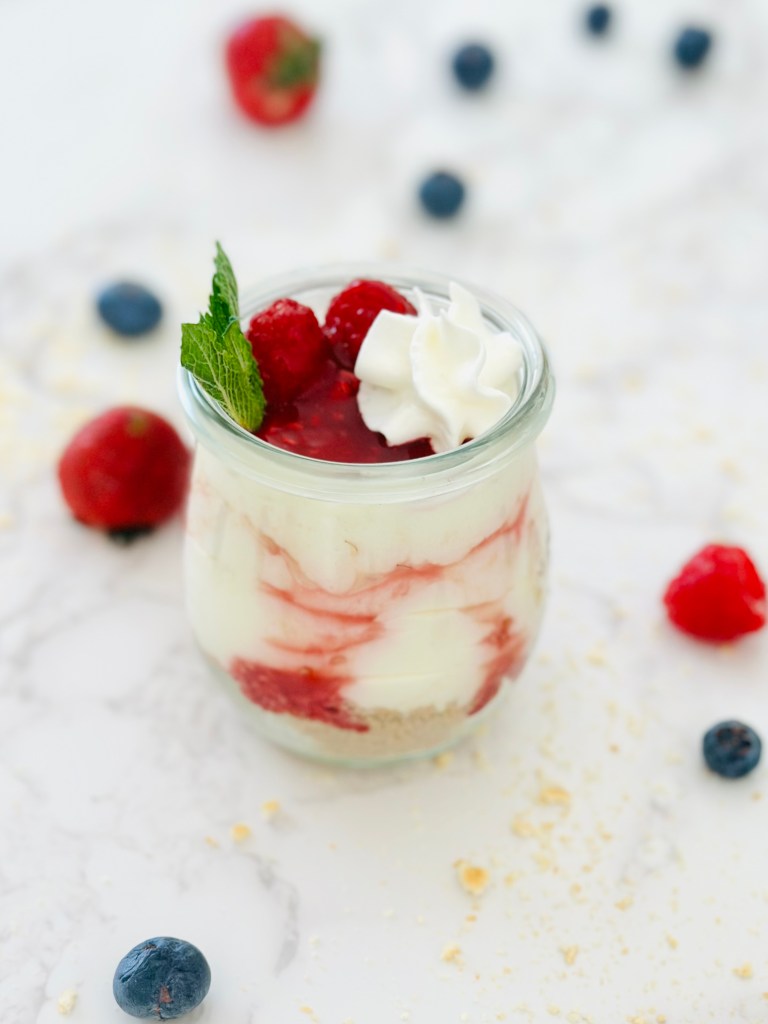
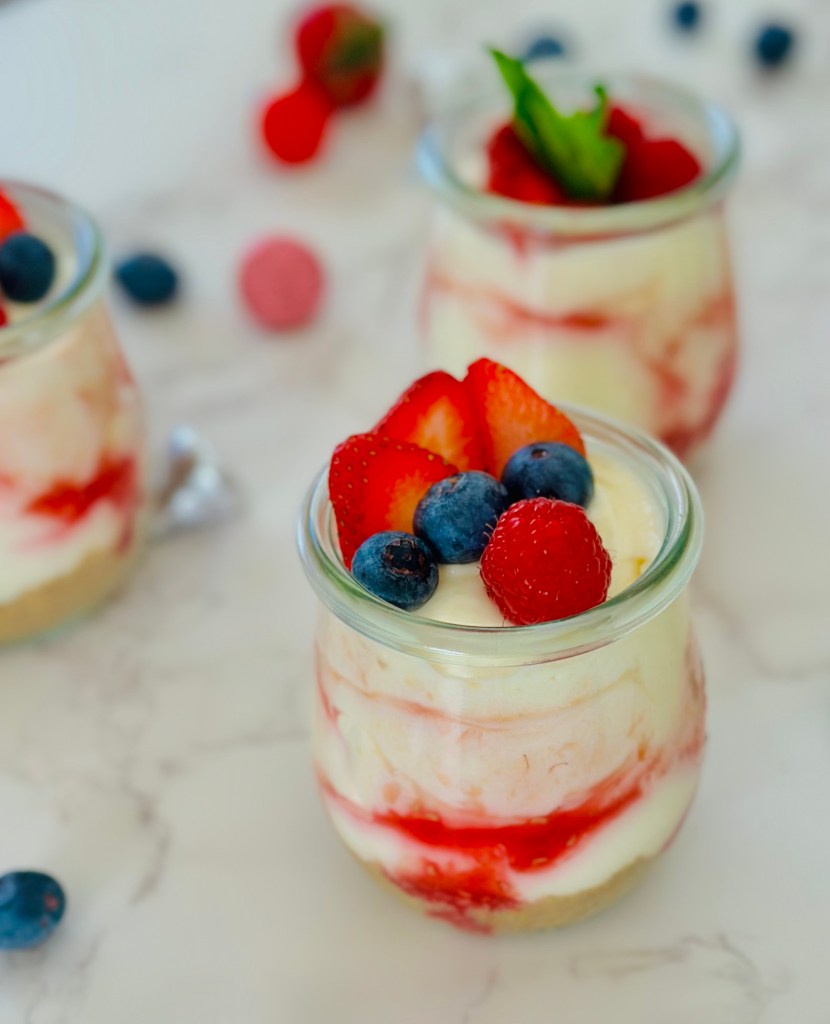
- Stunning presentation — The raspberry ribbon swirled around the inside of each cup makes these look like they came from a bakery. They photograph beautifully and make a real impression at the table.
- Perfect for make-ahead — Assemble them the night before, cover, and refrigerate. They’re actually better after a night in the fridge, making them ideal for entertaining.
- Individual servings — No slicing, no plating stress. Each guest gets their own perfectly assembled cup, which also makes portion control a breeze.tore.
Ingredients needed

- Raspberries: The star of the sauce. They’re cooked down to coax out their natural sweetness and that gorgeous ruby color, which becomes the show-stopping ribbon inside each cup. You can use fresh or frozen raspberries.
- Granulated sugar: Only a small amount is needed for the sauce, as the cheesecake filling is already rich and creamy. It also sweetens the filling and helps create a smooth, silky texture when beaten with the cream cheese.
- Lemon juice and zest: The juice adds gentle acidity to the cream cheese filling to balance out its richness. The zest is used in both the filling and raspberry sauce, which brightens up the dessert.
- Graham cracker crumbs: For the crust at the bottom of the cup. They’re pulsed in the food processor until fine, which gives the crust that classic honeyed, slightly crunchy base.
- Melted butter: Binds the graham cracker crumbs together and adds richness. Use the unsalted kind.
- Cream cheese: We like to use full-fat block cream cheese, which gives you a much more stable texture to work with once chilled.
- Lemon juice: Adds gentle acidity that balances the richness of the cream cheese and heavy cream. It also helps firm the filling slightly.
- Vanilla extract: Use pure vanilla extract for warmth and to round out the citrus flavors.
- Pinch of salt: A non-negotiable in any sweet filling, as it sharpens all the other flavors and keeps the cheesecake from tasting one-dimensional.
- Sour cream: This is our secret weapon. Sour cream adds a subtle tang and makes the filling noticeably lighter and creamier than cream cheese alone. If you don’t have it on hand, labneh is also a good substitute.
- Heavy cream: Whipped heavy cream is what makes this filling light, airy, and mousse-like rather than dense. I whip it to stiff peaks and fold it in gently so the filling stays fluffy and holds its shape beautifully in the cup.
- Fresh berries and mint leaves (for topping): We use whatever looks best at the market. Raspberries, blueberries, and strawberries all work beautifully.
How to make no-bake cheesecake cups
1. Make the Raspberry Sauce
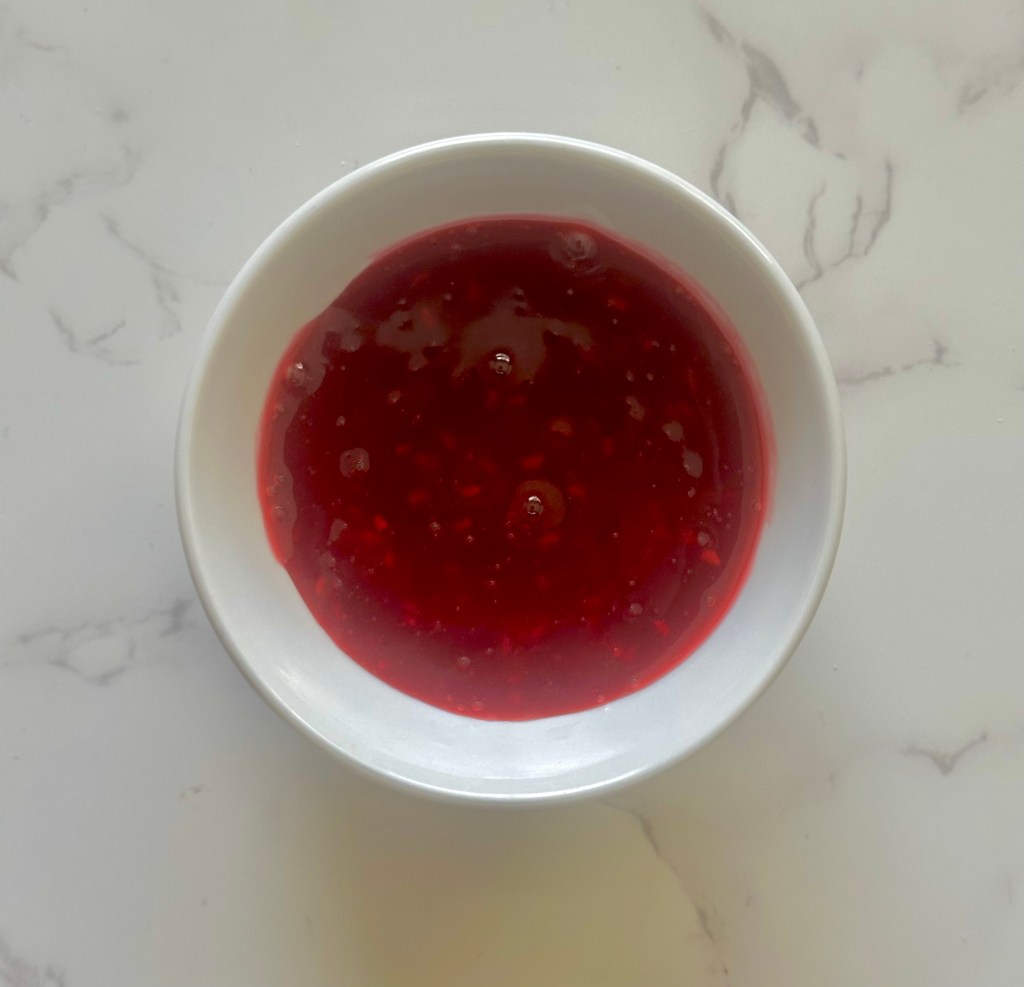
Add raspberries, sugar, and lemon zest to a small saucepan. Cook for 5–7 minutes, stirring gently, until the berries break down and the mixture thickens slightly. Place a strainer over a bowl and strain the sauce. Cool it down to room temperature before chilling in the fridge.
2. Prepare the Crust
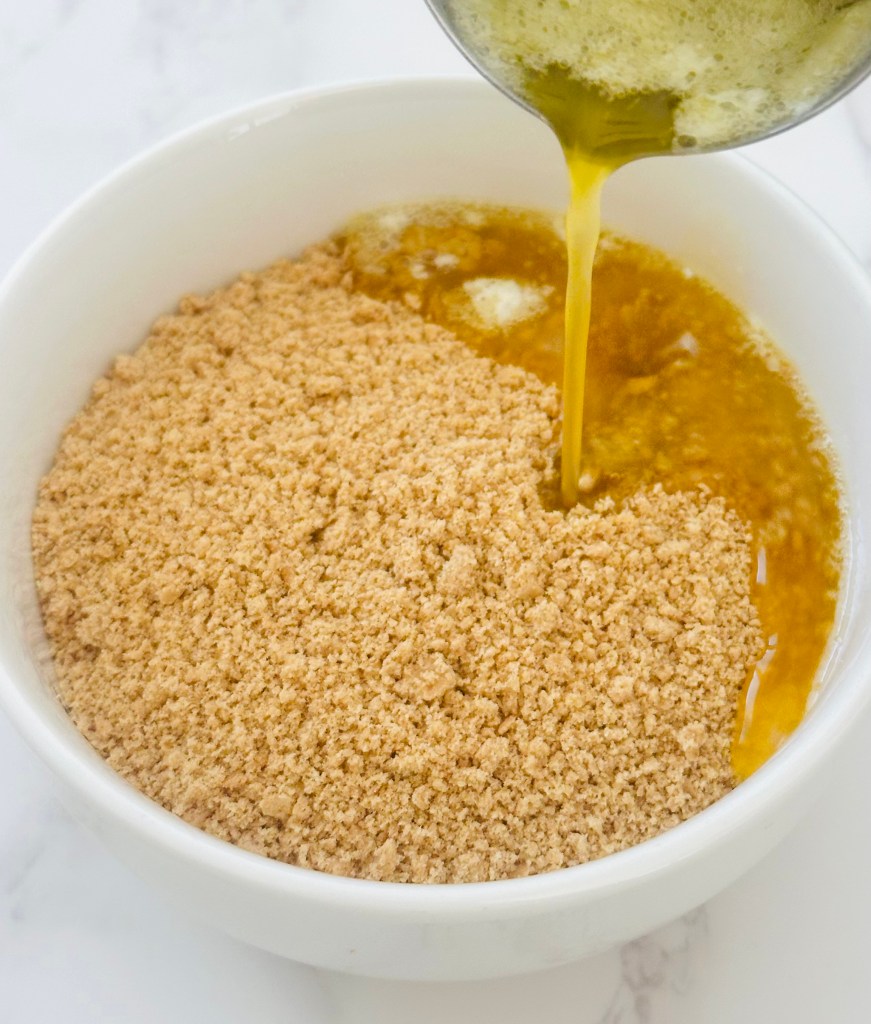
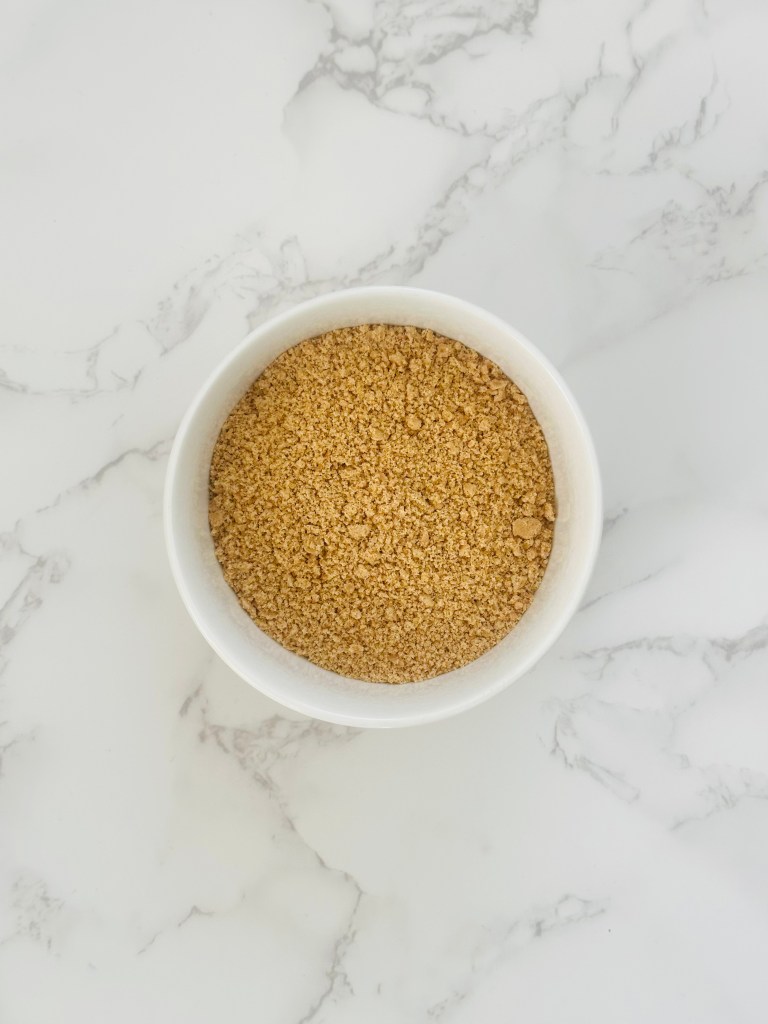
In a food processor with the blade attachment, pulse graham crackers until reduced to fine crumbs. Then transfer to a bowl, add the melted butter, and mix until the crumbs are moistened. The mixture should resemble wet sand and hold together when pressed.
Then divide the crust evenly among your serving cups (roughly 2–3 tablespoons per cup) and press it down firmly with the back of a spoon or your fingers. Place the cups in the fridge while you prepare the filling.
3. Make the Cheesecake Filling
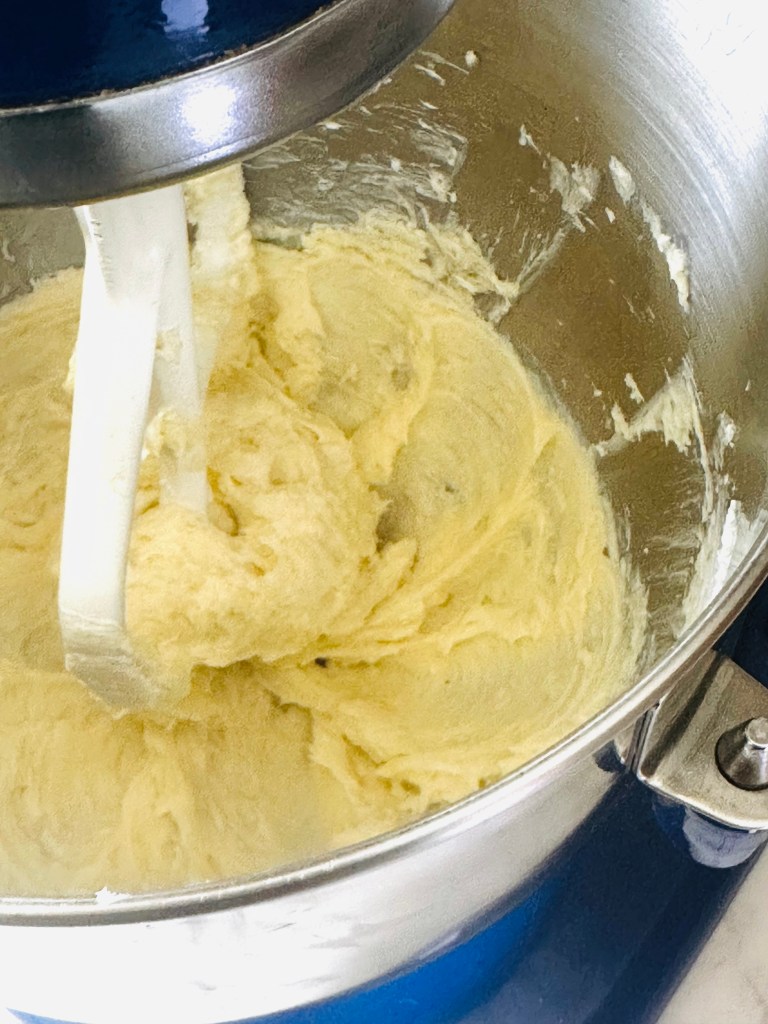
In a large mixing bowl with the paddle attachment, beat the softened cream cheese, sugar, lemon zest, lemon juice, vanilla extract, and salt together until completely smooth and fluffy, about 2–3 minutes. Add the sour cream and beat again until just combined.
Switch to a whisk attachment, then pour in the heavy cream slowly with the mixer on low speed. Turn up to high and whip until thick and fluffy (about 5 minutes).

4. Assemble the cups
Take the cups out of the fridge. Using a small spoon, drizzle the cooled raspberry sauce around the inside wall of each cup, rotating as you go, to create a visible ribbon of sauce. Then spoon the filling on top of the crust, filling each cup generously.
5. Chill, top, and serve!
Place the cups back in the refrigerator to chill for at least 2 hours, or overnight for best results. Just before serving, top each cup with fresh berries, a mint leaf, and an optional dollop of whipped cream. Serve immediately and enjoy!
FAQs for no-bake cheesecake cups
Can I make these ahead of time?
Yes, and we highly recommend it! Assemble the cups fully (minus the fresh toppings), cover, and refrigerate for up to 2 days. The filling firms up beautifully overnight. Add berries, mint, and whipped cream right before serving.
Why is my no-bake cheesecake filling not setting?
The most common culprits are under-whipped cream and cream cheese that wasn’t fully softened. Make sure to whip your heavy cream to stiff peaks before folding it in, and make sure your cream cheese has been at room temperature for at least 30–45 minutes. Still loose after chilling? Give it another hour; it often just needs more time.
Can I use frozen raspberries for the sauce?
Absolutely, and no need to thaw. Just add them straight to the saucepan and cook as directed. Allow an extra minute or two for the sauce to thicken, since frozen berries release more liquid.
Can I swap the raspberry sauce for a different fruit?
Yes! Strawberries, blueberries, blackberries, or peaches all work beautifully using the same method. A mixed berry sauce is especially stunning swirled inside the cups.

Tips for the perfect no-bake cheesecake cups
- Use full-fat block cream cheese, fully softened. Always use block cream cheese (not the spreadable kind) and let it sit at room temperature for at least 30–45 minutes before mixing. Cold cream cheese will lump no matter how long you beat it.
- Whip the cream to stiff peaks, then fold gently. Under-whipped cream makes the filling too loose. Whip until the peaks hold firmly, then fold (don’t stir!) into the cream cheese mixture to keep the filling light and airy.
- Cool the raspberry sauce before assembling. Warm sauce can bleed into the filling or slide off the cup walls. Make it first, let it cool completely, then swirl it in for that clean ribbon effect.
- Press the crust firmly and chill long enough. Pack the crust down tightly with the flat bottom of a measuring cup so it doesn’t crumble when served. Then give the assembled cups at least 2 hours in the fridge to set. (Overnight yields the best results.)
Topping variations for no-bake cheesecake cups
These cups are a perfect canvas to play with! Once you have the base recipe down, the toppings are where you can really have fun. Here are some variations you can try:
- Valentine’s Day: A swirl of whipped cream, a few raspberries, and a light dusting of powdered sugar or freeze-dried raspberry powder for a rosy, romantic finish.
- Lemon curd & blueberry: Skip the raspberry ribbon and swirl lemon curd through the filling instead, then top with fresh blueberries for the perfect summery dessert.
- Chocolate drizzle: Melt dark or white chocolate and drizzle over the top just before serving. Pairs beautifully with the raspberry and cream cheese.
- Peach & honey: In late summer, swap the raspberry sauce for diced fresh peaches tossed in honey and a pinch of cinnamon.
- Crushed pistachio: A sprinkle of finely chopped pistachios on top adds color, crunch, and a slightly savory note that plays beautifully against the sweet filling.
Cheesecake cups make-ahead & storage tips
To make ahead
Assemble them fully (minus the fresh toppings), cover tightly with plastic wrap, and refrigerate for up to 2 days before serving. Add the toppings on top before you bring them to the table.
The raspberry sauce can be made up to 5 days in advance and kept in a sealed jar in the fridge. It’s also wonderful spooned over yogurt, pancakes, or ice cream if you have extra.
To store
Leftovers keep beautifully in the fridge, covered or in airtight containers, for up to 3 days. The crust will soften slightly over time, but the flavor only gets better.
To freeze
You can freeze these cups without the fresh toppings. Cover tightly and freeze for up to 1 month. Thaw overnight in the refrigerator and add fresh toppings just before serving. Note that the texture of the filling may be slightly softer after freezing.
More dessert recipes
If you loved learning how to make these no-bake cheesecake cups, try one of our other favorite desserts:
- Tiramisu
- 3-Ingredient Mango Sorbet
- Old-Fashioned Molasses Cake
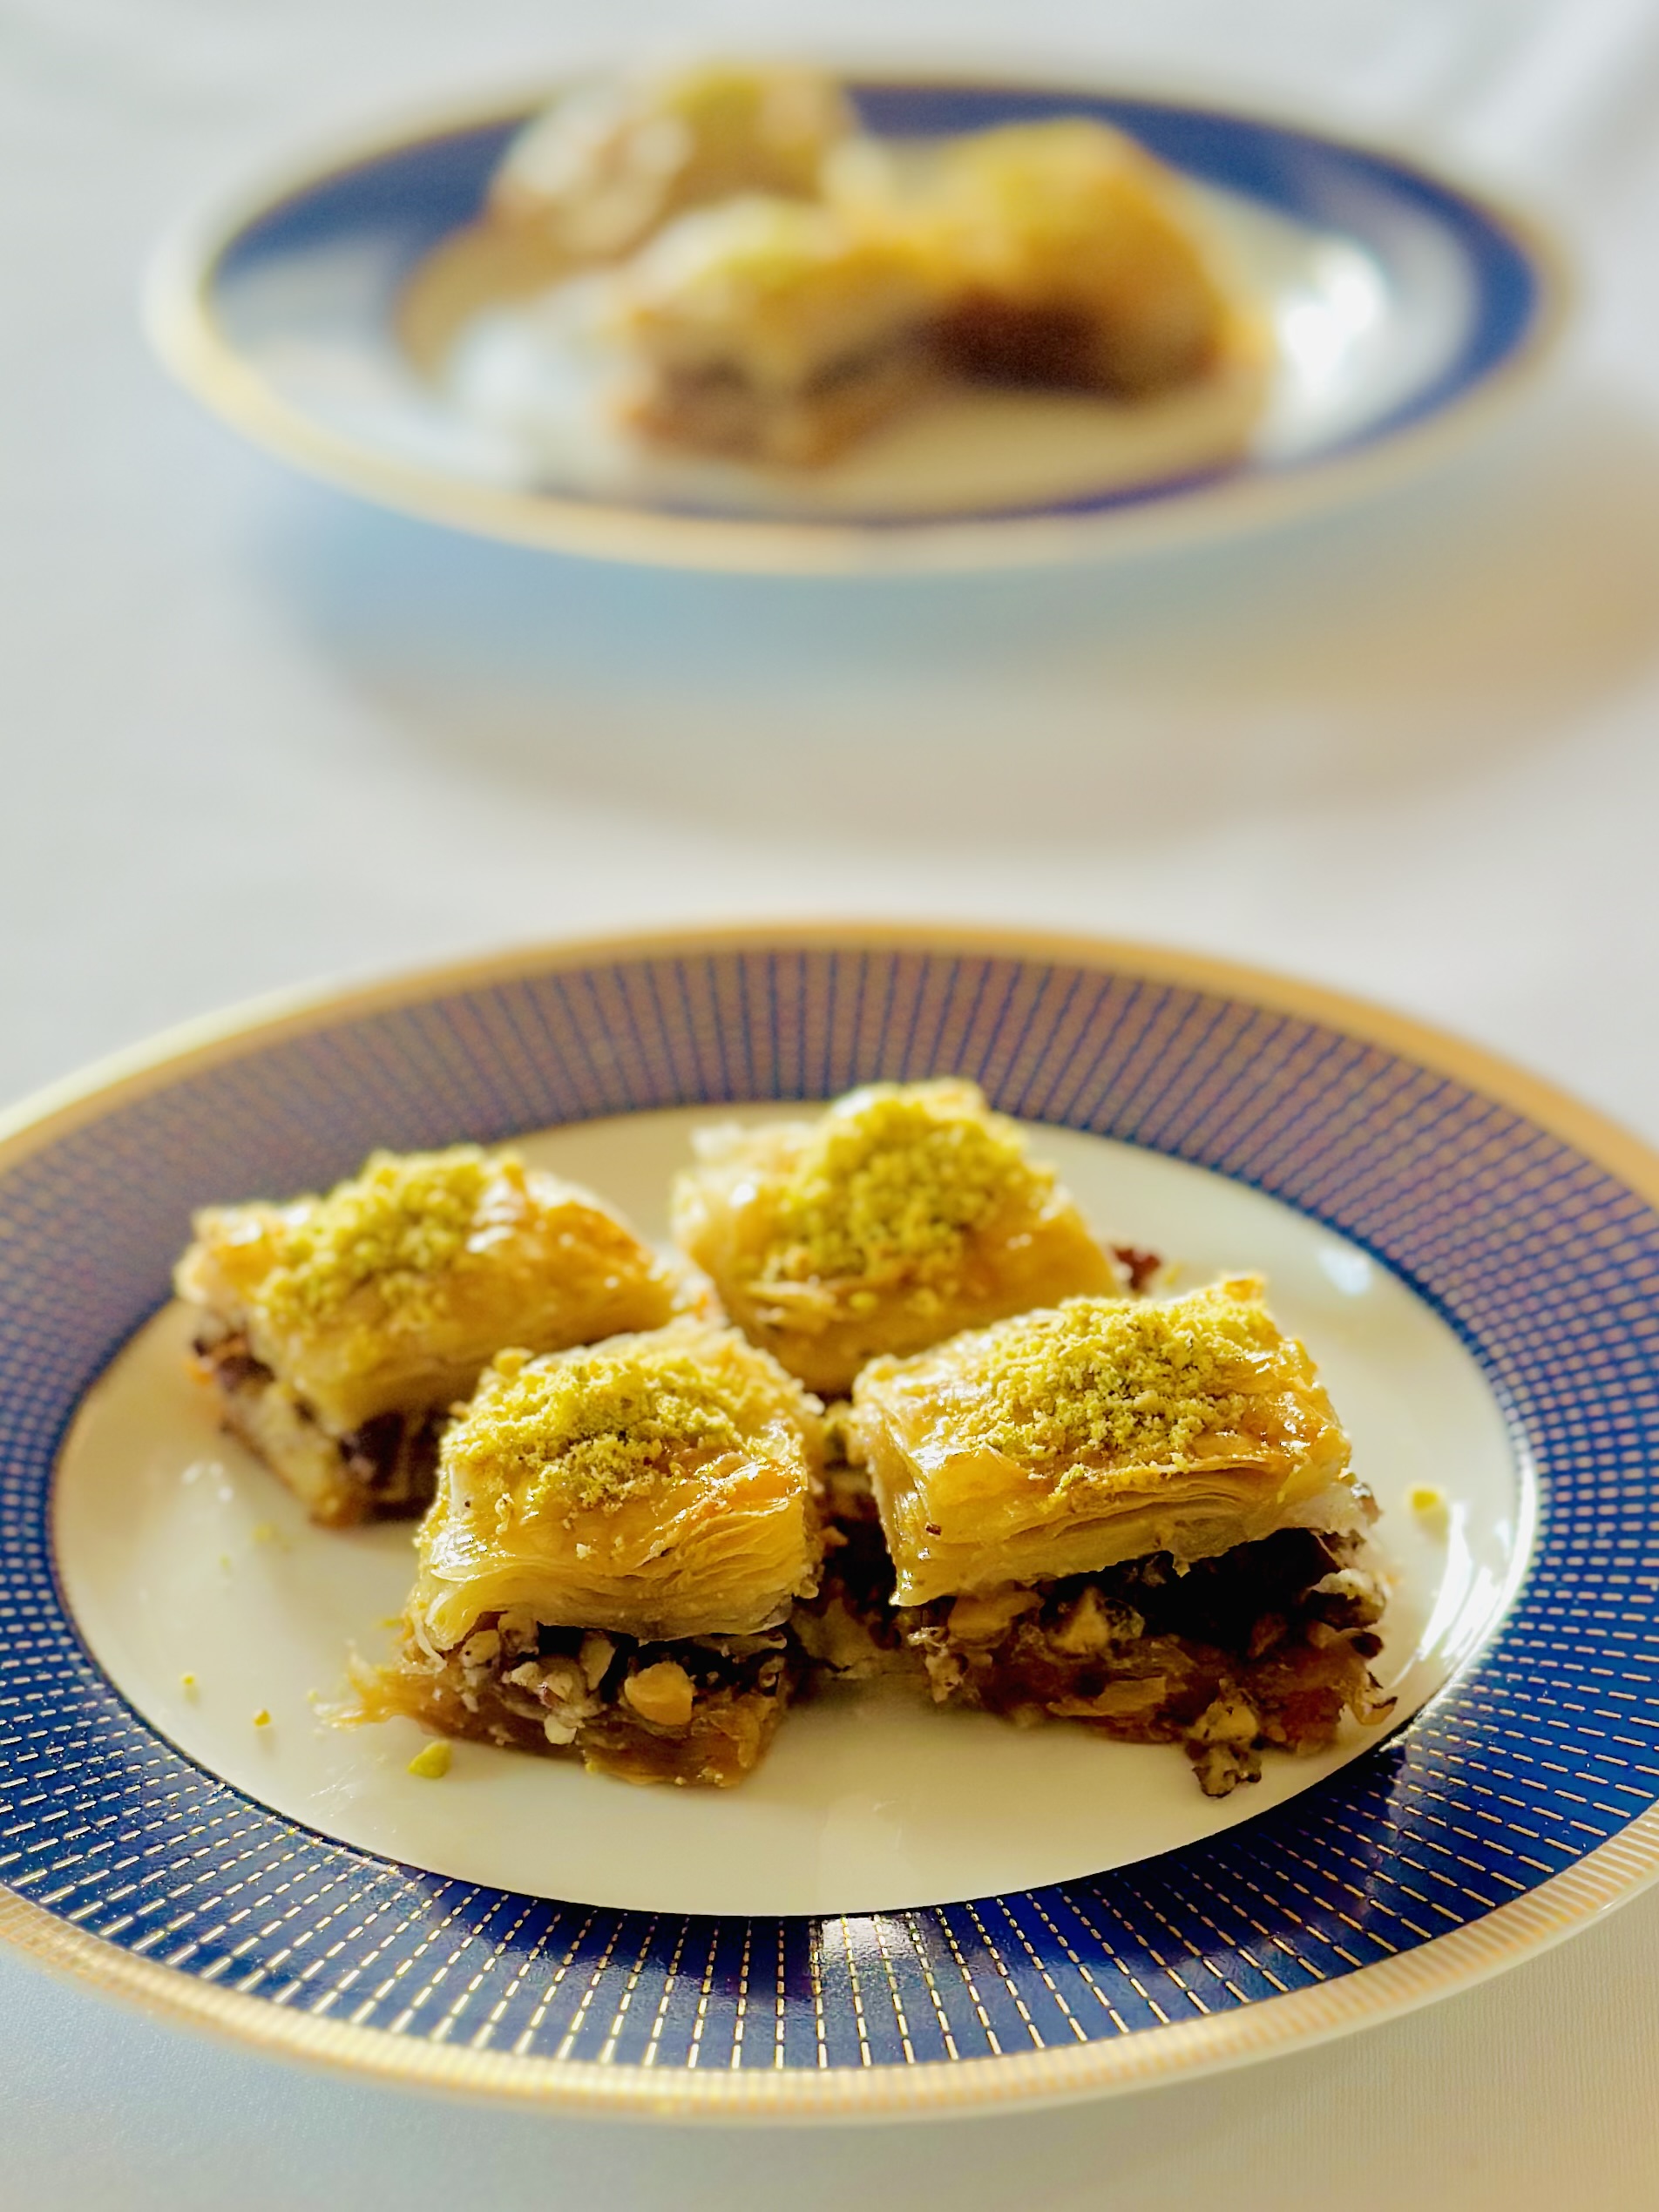
- Classic Homemade Baklava
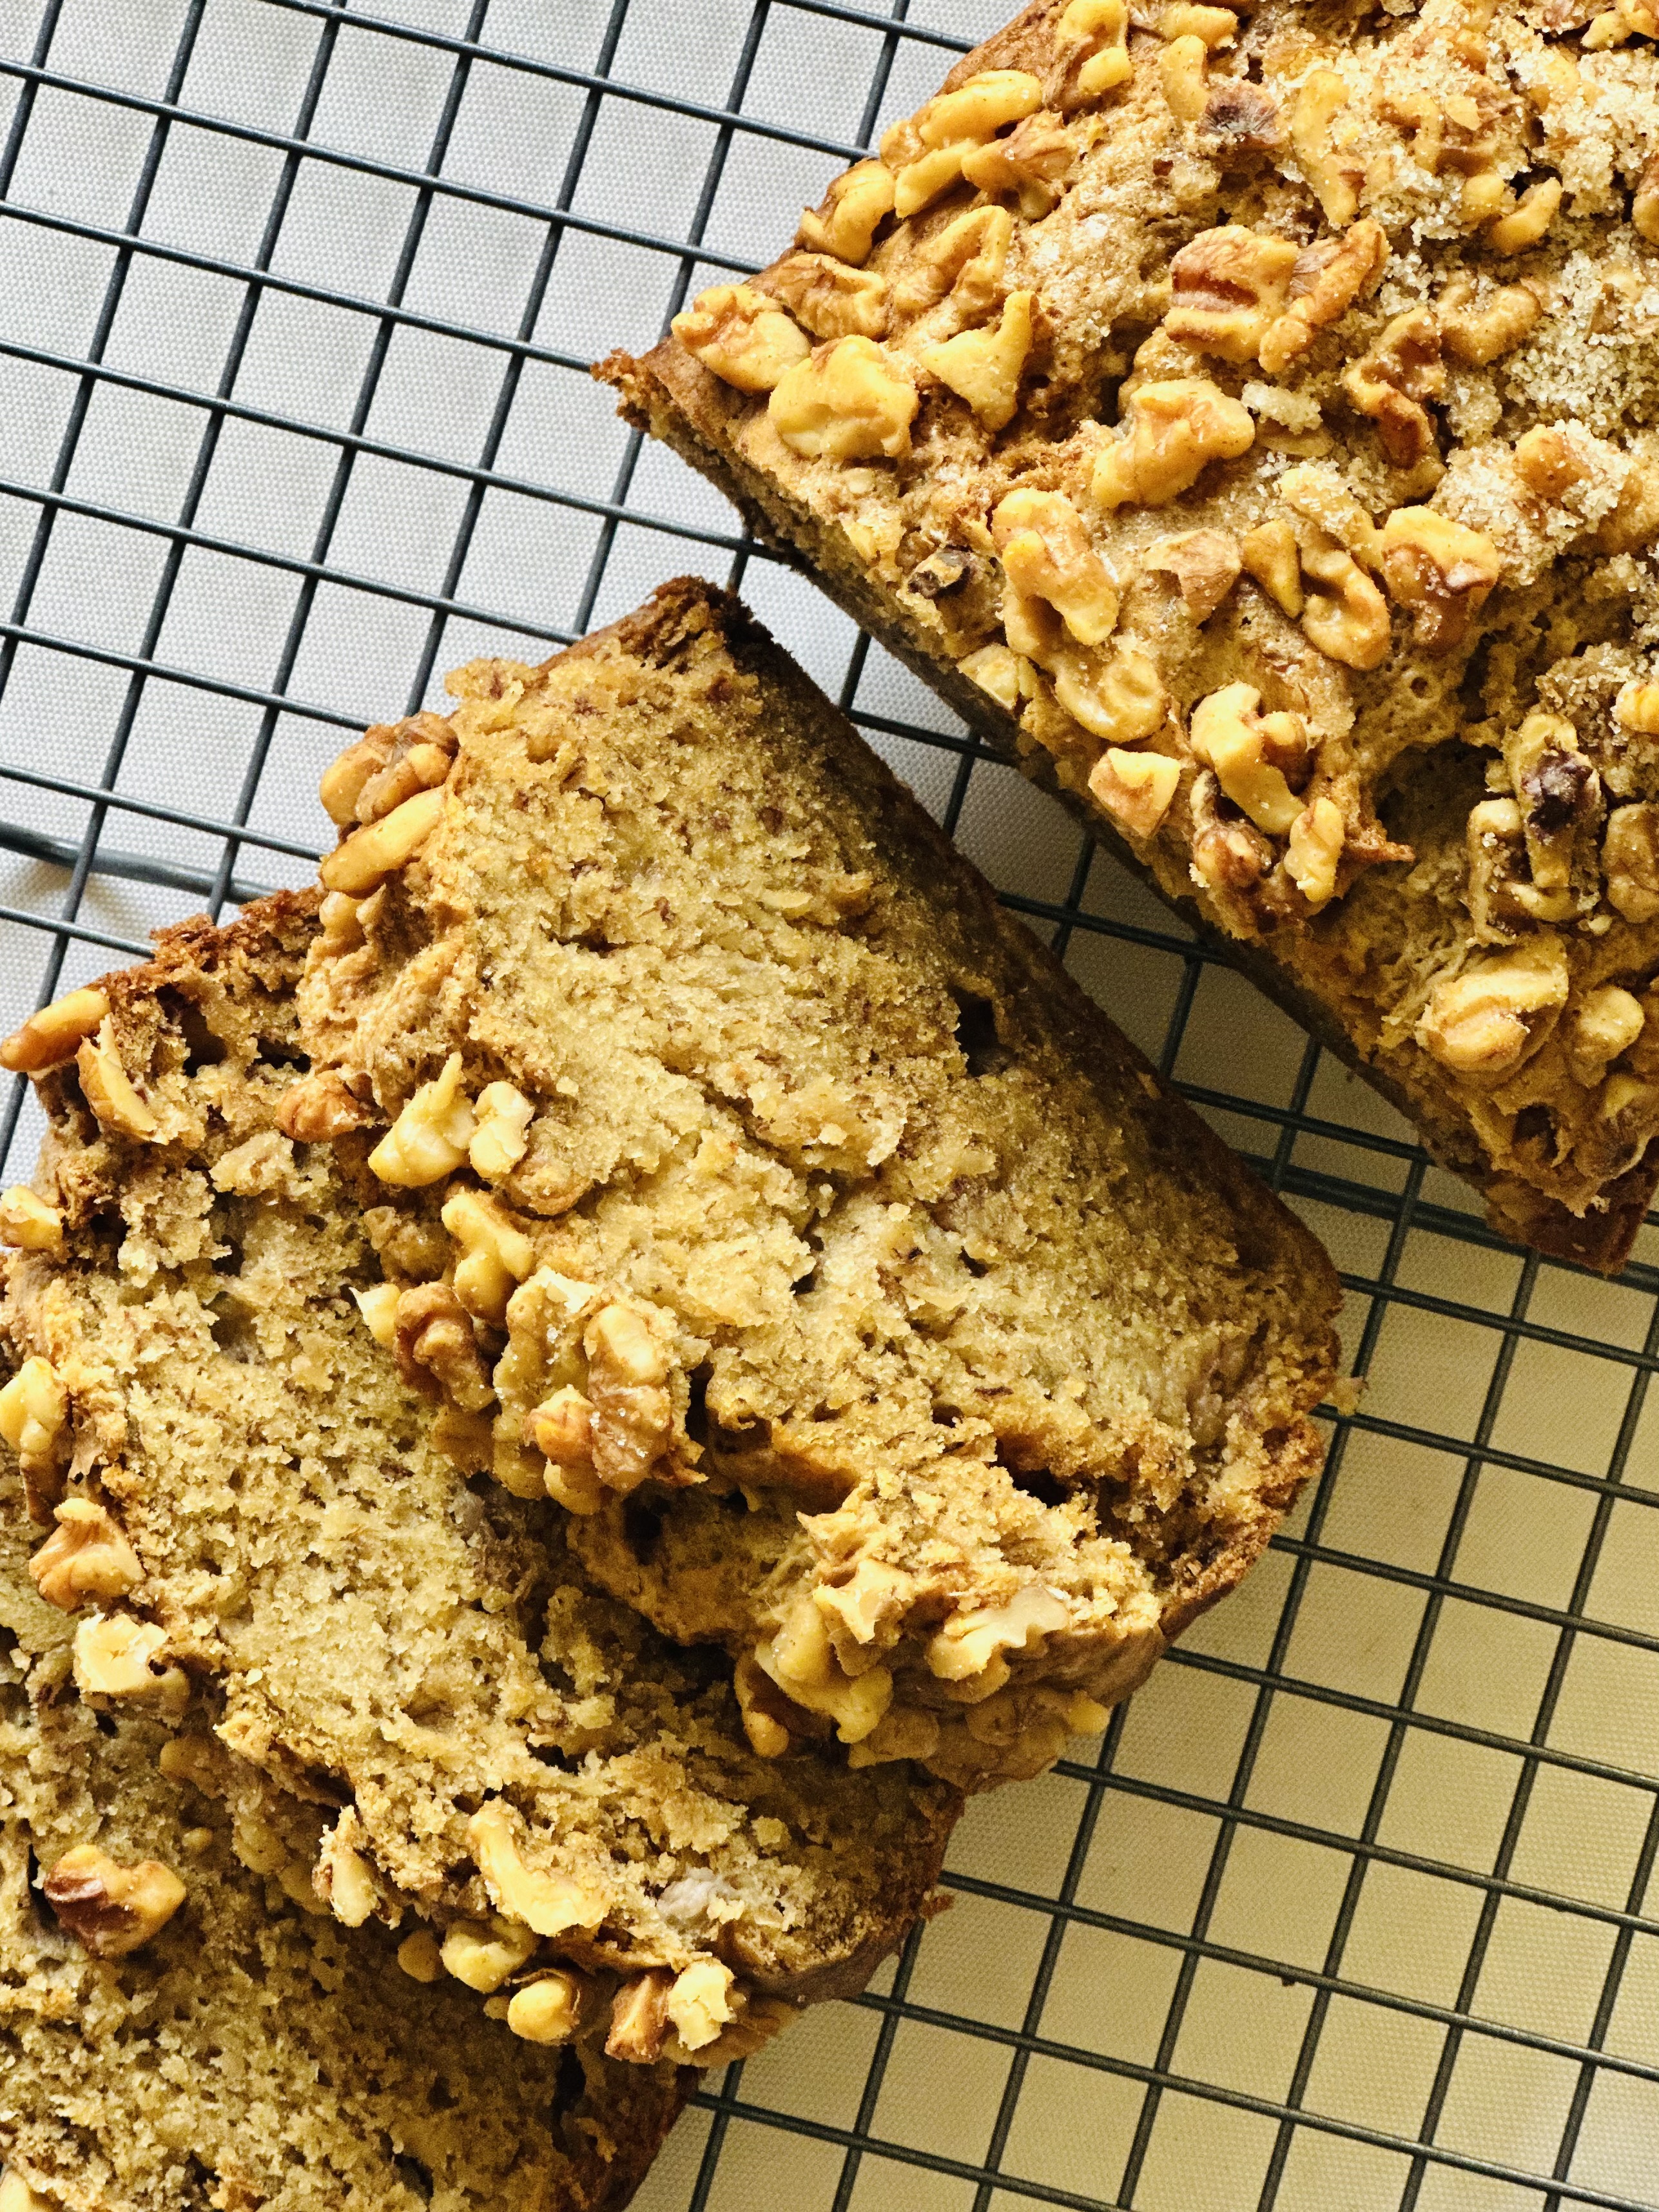
- Banana Bread
Mini No-Bake Cheesecakes with Homemade Raspberry Sauce
- Total Time: 20 minutes
- Yield: 4 1x
Description
These creamy No-Bake Cheesecake Cups are layered with a buttery graham cracker crust, bright homemade raspberry sauce, and a silky lemon-vanilla filling. And best of all, no oven required! Just assemble, chill, and serve for an easy and decadent dessert that works for dinner parties, brunches, birthdays, or whenever you’re craving something sweet and simple.
Ingredients
For the raspberry sauce:
- 1 cup raspberries
- 2 tablespoons granulated sugar
- 1/2 teaspoon lemon zest
For the crust:
- 1 cup graham cracker crumbs
- 3 tablespoons unsalted butter, melted
For the cheesecake filling:
- 8oz (225g) cream cheese
- 1/2 cup sugar
- 1 teaspoon lemon zest
- 1 tablespoon lemon juice
- 1 teaspoon vanilla extract
- Pinch of salt
- 1/4 cup sour cream or labneh
- 1 cup heavy cream
- Fresh berries and mint leaves for topping
- Dollop of whipped cream for topping, optional
Instructions
- Make the raspberry sauce: Add the the raspberries, sugar, and lemon zest to a small saucepan over medium heat. Bring the sauce to a gentle simmer, stirring frequently. Then raise the heat to medium-high and continue to cook, while stirring, until thickened and the berries have broken down, 4 to 5 minutes. Place a bowl underneath a mesh strainer and strain the sauce, pressing the mixture down with a spoon to help the liquid come through. (If desired, add a teaspoon of seeds back to the raspberry sauce for texture.) Discard the remaining seeds. Let the sauce come down to room temperature and keep chilled while preparing the rest of the cheesecake.
- Make the crust: Add graham crackers to a food processor fitted with the blade attachment and pulse until the crackers are reduced to fine crumbs. Transfer to a bowl, add the butter, and mix until combined and the crumbs are moistened. Set aside.
- Make the filling: In the bowl of a mixer fitted with the paddle attachment, combine cream cheese, sugar, lemon zest and juice, vanilla extract, and salt. Mix on low speed until combined, then turn the mixer up to medium and beat until smooth and fluffy, about 2 minutes. Periodically stop the mixer to scrape the bottom and sides of the bowl to ensure even mixing. Add the sour cream and mix until just combined.
- Switch to the whisk attachment and, with the mixer on low speed, slowly pour in the cream. Then turn up to high and whip until thick and fluffy, about 5 minutes. Stop the mixer once or twice to scrape the bottom and sides of the bowl.
- Assemble the cups: Put about 2 tablespoons of the graham cracker crumbs in the bottom of your serving cups, pressing firmly into the bottom using the back of a spoon. Slowly drizzle 1 tablespoon of the raspberry sauce, rotating the cup as you pour it in so that the sauce forms a ribbon wrapping around the interior of the cup.
- Evenly spoon about 1/2 cup of filling into each serving cup. Cover and chill in the fridge for at least 2 hours, or overnight, before serving. Garnish with fresh raspberries or strawberries (or other desired fruit) and mint leaves. Top with whipped cream if desired.
- Prep Time: 20
- Category: Dessert




It looks so delicious, I love it
Thanks for sharing
Thank you for visiting
It so delicious. Great one
Thank you